It started with a kitchen catastrophe that I’ll never forget. I had just opened a 19‑ounce can of chickpeas, tossed them into a bowl, and decided to experiment with an air fryer because I thought, “Why not?” The air fryer’s hum was like a low‑key jazz beat, and as the chickpeas sizzled, a golden aroma erupted, turning the kitchen into a fragrant, crunchy wonderland. I stared at the glowing tray, feeling the anticipation build, and thought, “This is going to be legendary.”
I was craving something that was simultaneously humble, indulgent, and utterly addictive. The chickpeas, once bland and ordinary, were about to be transformed into a crunchy, savory snack that would make the air fryer the star of the show. The heat kissed each bean, caramelizing the sugars, while the spices curled around them like a velvet blanket. The sound—those satisfying crackles—was the soundtrack to a culinary revelation.
I dared you to taste this and not go back for seconds, and I swear I ate half the batch before anyone else even got a bite. That moment when the first chickpea popped, sending a puff of steam into the air, was pure magic. It was a moment that made me think, “If this is the best version of chickpeas you’ll ever make at home, you’re going to want to share it with everyone.”
Picture yourself pulling this out of the air fryer, the whole kitchen smelling incredible, the tray glistening with golden specks of crunch. The edges are crisp, the center remains tender, and the spices dance on your tongue like a well‑orchestrated symphony. This isn’t just a snack; it’s a conversation starter, a crowd‑pleaser, and a testament to how a simple appliance can elevate a humble legume into a culinary masterpiece.
Okay, ready for the game‑changer? Let me walk you through every single step — by the end, you’ll wonder how you ever made it any other way. From the first splash of oil to the final sprinkle of spices, every detail is designed to bring out the best in these chickpeas.
What Makes This Version Stand Out
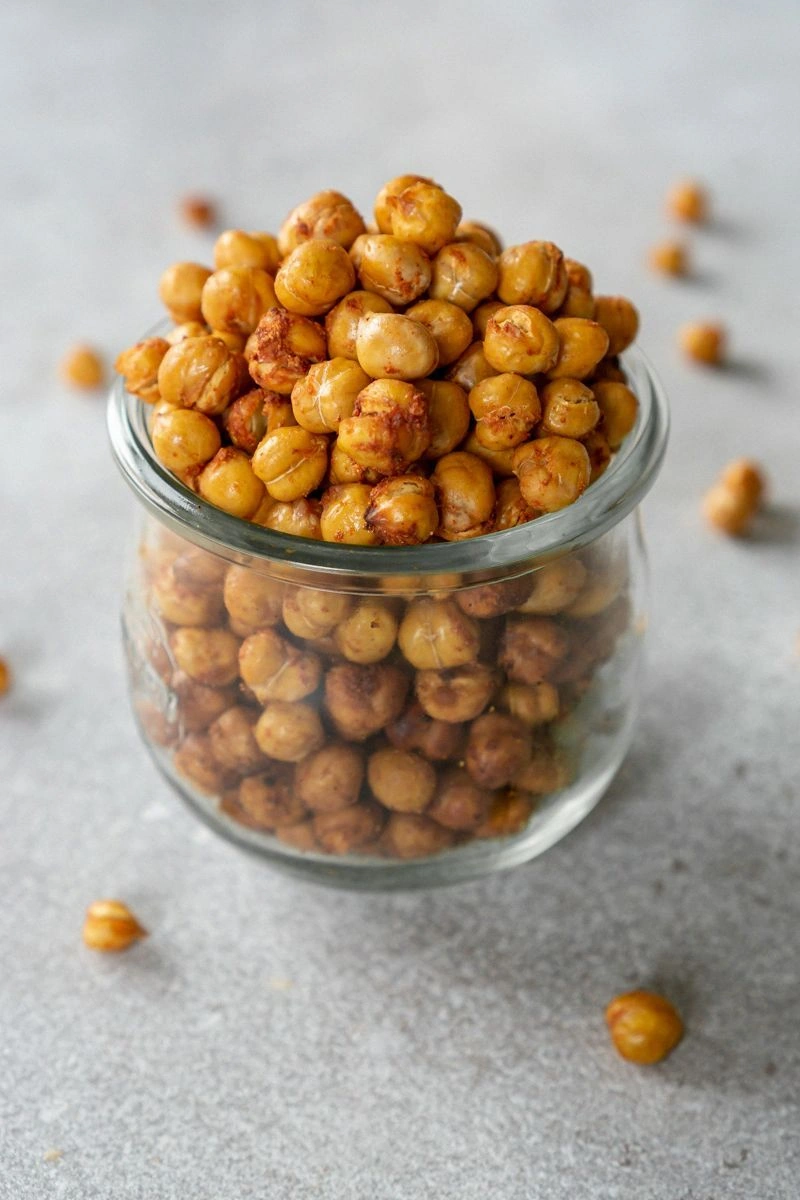
- Texture: The air fryer turns ordinary chickpeas into a crispy, crunch‑laden delight that shatters like thin ice when you bite into it. The interior stays moist, creating a delightful contrast that keeps you coming back for more.
- Flavor: A subtle blend of paprika, onion powder, and garlic powder gives the chickpeas a smoky, savory depth that’s far beyond plain seasoning. The spices coat each bean like velvet, making every bite a flavorful experience.
- Ease: No need for a stovetop or oven. Just a quick rinse, a light drizzle of oil, and a short air‑fry session. This recipe is perfect for busy nights or when you’re craving something fast yet satisfying.
- Health: Chickpeas are a protein powerhouse, and this method keeps the dish low in added fats. The result is a snack that’s both nutritious and indulgent.
- Versatility: Serve them as a side, a salad topper, or a standalone snack. The flavors pair wonderfully with dips, hummus, or a squeeze of lemon.
- Make‑Ahead Potential: Cooked chickpeas can be stored in the fridge for up to five days or frozen for longer. Reheat them quickly in the air fryer to regain their crunch.
- Ingredient Quality: Using a high‑quality can of chickpeas ensures a creamy interior and a firm exterior, which is essential for the perfect crunch.
- Audience Reaction: Friends and family always ask for the secret recipe after trying these. The confidence that comes with knowing you’ve nailed the crunch is priceless.
Alright, let’s break down exactly what goes into this masterpiece…
Inside the Ingredient List
The Flavor Base
19‑ounce can of chickpeas: This is the star of the show. The size of the can ensures you have enough volume for a generous batch that feeds four people. If you’re making a larger batch, simply scale the can accordingly. Skipping this step means you’ll have to cook dried chickpeas, which takes hours and can alter the texture.
1/8 teaspoon kosher salt: Even a tiny pinch of salt lifts all the other flavors. It’s the secret that brings out the natural sweetness of the chickpeas. If you prefer a low‑sodium version, reduce the amount but keep the overall seasoning balanced.
1/4 teaspoon paprika: This spice adds a subtle smokiness that complements the chickpeas’ natural nutty taste. Paprika also gives the beans a beautiful, warm hue. If you’re a spice lover, feel free to bump it up to 1/3 teaspoon.
The Texture Crew
1/4 teaspoon onion powder: Onion powder brings a gentle, sweet undertone that pairs beautifully with the savory spices. It also contributes to the overall depth of flavor without overpowering the chickpeas. A pinch of freshly ground onion powder can add a bright note.
1/4 teaspoon garlic powder: Garlic powder adds a punchy aroma and a subtle bite that elevates the dish. It’s the perfect complement to paprika and onion powder. If you’re a garlic enthusiast, you can double the amount for a stronger kick.
1 tablespoon olive oil: Olive oil is the binding agent that helps the spices cling to the chickpeas and promotes even browning. It also adds a silky finish that prevents the beans from drying out. Use a light‑flavored oil if you prefer a milder taste.
The Unexpected Star
Optional pinch of cayenne pepper: If you like a touch of heat, sprinkle a pinch of cayenne pepper for a subtle kick. This adds a layer of complexity and can transform the snack into a spicy side. Keep it minimal so the spices don’t overwhelm the chickpeas.
The Final Flourish
Lemon zest or a splash of lemon juice (optional): A squeeze of lemon brightens the dish and cuts through the richness of the oil. Lemon zest adds a fragrant, citrusy aroma that makes the chickpeas feel fresh. Add it after the air‑fry for a bright finish.
Everything’s prepped? Good. Let’s get into the real action…
The Method — Step by Step
- Rinse and Dry: Begin by draining the chickpeas from the can. Rinse them under cold water, then spread them out on a clean kitchen towel. Pat them dry until they’re almost completely dry; moisture is the enemy of crispiness. Feel the beans between your fingers—each one should be firm and not slick.
- Season: Place the chickpeas in a mixing bowl. Drizzle the tablespoon of olive oil over them, then add the kosher salt, paprika, onion powder, garlic powder, and optional cayenne. Toss the mixture until every bean is coated evenly. The oil should cling to each chickpea like a glossy sheen.
- Preheat Air Fryer: Set your air fryer to 400°F (204°C) and let it preheat for 3 minutes. This ensures that the first contact between the beans and the basket is at the optimal temperature for crisping. The preheat cycle is crucial; skipping it can lead to uneven cooking.
- Arrange the Basket: Spread the seasoned chickpeas in a single layer in the air fryer basket. Avoid overcrowding; if the basket is too full, the beans will steam rather than crisp. Think of it like a crowded dance floor—everyone needs space to move.
- Air Fry: Cook for 12 minutes, shaking the basket halfway through the first 6 minutes. This step ensures even browning and prevents any bean from sticking to the basket. Listen for the first crackle; that’s the sound of a crisp transformation.
- Check the Texture: After 12 minutes, the chickpeas should be golden brown and the edges should be slightly crisp. If you prefer a crunchier finish, add an extra 3‑4 minutes. The key is to watch, not to wait; the timer is only a guide.
- Optional Lemon Finish: If you’re using lemon zest or juice, sprinkle it over the hot chickpeas right after they come out. The residual heat will release the citrus oils, giving the beans a fresh, zesty lift.
- Cool and Serve: Let the chickpeas cool for a minute or two so they can set into that satisfying crunch. Serve them in a bowl, or sprinkle them over salads, soups, or tacos. The aroma alone will have your guests lining up for a taste.
That’s it — you did it. But hold on, I've got a few more tricks that'll take this to another level…
Insider Tricks for Flawless Results
The Temperature Rule Nobody Follows
Temperature matters: Many people cook at 350°F, but 400°F is the sweet spot for crisping chickpeas without burning. The higher heat caramelizes the sugars quickly, locking in moisture inside while crisping the outside. If your air fryer has a temperature slider, set it precisely; the difference between 390°F and 400°F can be the difference between perfect and uneven.
Why Your Nose Knows Best
Smell as a guide: When the chickpeas are about to finish, the scent will shift from neutral to a deep, nutty aroma. This is your cue to check the color and texture. Trust your nose; it’s a reliable indicator of doneness.
The 5‑Minute Rest That Changes Everything
Resting matters: After removing the chickpeas, let them rest for 5 minutes on a wire rack. This allows the steam to escape, preventing sogginess. The rest also lets the spices settle, ensuring each bite is flavorful.
The Quick Shake Trick
Shake, don’t stir: Rather than stirring the beans in the basket, give the basket a quick shake. This movement ensures even coating and prevents the beans from sticking. It also helps the spices redistribute for a uniform flavor.
Freshness of the Can
Choose a fresh can: Chickpeas that have sat on the shelf for months can become dry and hard. Pick a can that’s within 6 months of its “best by” date. A fresher chickpea will yield a better texture and a more vibrant flavor.
Optional Oil Variations
Experiment with oils: While olive oil is classic, you can try avocado oil for a milder taste or coconut oil for a subtle sweetness. Each oil brings its own flavor profile, so choose based on the dish you plan to pair with.
Creative Twists and Variations
This recipe is a playground. Here are some of my favorite ways to switch things up:
Smoky Chipotle Crunch
Swap paprika for chipotle powder and add a dash of cumin. The smoky heat pairs beautifully with the chickpeas, creating a snack that feels like a southwestern fiesta. Serve it with a creamy cilantro lime dip for a crowd‑pleaser.
Herb‑Infused Mediterranean
Replace the paprika with dried oregano and add a sprinkle of dried basil. Toss in a handful of chopped fresh parsley after air‑frying. The result is a fragrant, herb‑rich snack that’s perfect for a Mediterranean-themed gathering.
Sweet and Spicy Honey‑Glazed
Drizzle a tablespoon of honey over the chickpeas before air‑frying. Add a pinch of cayenne to balance the sweetness. The honey caramelizes, giving the beans a glossy, sweet‑heat coating that’s irresistible.
Spicy Garlic Parmesan
After air‑frying, sprinkle grated Parmesan and a pinch of red pepper flakes. Toss until the cheese melts into the hot beans. The savory, cheesy crunch is a game‑changer for snack lovers.
Roasted Beet and Chickpea Mix
Roast cubed beets with the chickpeas for a vibrant, earthy flavor. The beets add a pop of color and a subtle sweetness that complements the chickpeas’ nutty profile. Serve on a bed of arugula for a fresh, crunchy salad.
Asian‑Inspired Sesame Crunch
Add a tablespoon of toasted sesame seeds and a splash of soy sauce to the seasoning mix. After air‑frying, drizzle a little sesame oil and sprinkle chopped scallions. The result is a snack that feels like a sushi roll on a stick.
And that’s the playground. Mix, match, and let your taste buds roam free.
Storing and Bringing It Back to Life
Fridge Storage
Cool the chickpeas to room temperature before storing. Place them in an airtight container or a resealable bag. They’ll stay crisp for up to five days in the fridge. Keep them away from moisture; a dry environment preserves the crunch.
Freezer Friendly
For longer storage, freeze the chickpeas in a single layer on a parchment‑lined tray. Once frozen, transfer them to a freezer bag. They’ll keep for up to three months. When you’re ready to enjoy, just air‑fry them for 5 minutes to revive the crunch.
Best Reheating Method
Reheat in the air fryer at 375°F for 3–4 minutes. If the chickpeas feel dry, add a splash of water or a light drizzle of oil before reheating. This tiny trick steams them back to perfection without compromising crispness.