Picture this: I was standing in a cramped kitchen, the oven already on, and a box of brownie mix sitting on the counter like a silent dare. A friend had challenged me to whip up something that would make their kids jump for joy, and I was determined to prove that a simple box of mix could be transformed into a festival of flavors. The air was thick with the scent of chocolate, the faint tang of pumpkin candies, and a hint of green from the food coloring that would give these brownies a playful pop. I knew the stakes were high – if I let the brownies turn out bland, I’d lose the bragging rights and a handful of hungry kids would be disappointed. That moment set the tone for what would become the most unforgettable pumpkin patch brownies I’ve ever made.
When I first cracked the batter, the kitchen felt like a stage, and I was the director of a culinary drama. I could hear the rhythmic clack of the spoon against the bowl, the subtle hiss of the oil as it warmed, and the distant hum of the fridge. The batter itself was a glossy, dark canvas, ready to accept the bright white chocolate chips and the green splash that would turn it into a whimsical patch of autumn. I dared my friends to taste these brownies and not go back for seconds – and trust me, they didn’t. The moment the first bite hit their tongues, the crunch of crushed Oreos met the gooeyness of frosting, and the pumpkin candies burst with a sweet, candy-coated surprise.
What makes this version stand out is not just the ingredients, but the way I orchestrated every step to maximize flavor and texture. I’m not talking about a recipe that just “works”; I’m talking about a recipe that turns a standard box of brownie mix into a crowd‑pleasing, Instagram‑worthy masterpiece. The secret sauce is the combination of white chocolate chips and chocolate frosting that creates a dual‑layered chocolate experience, while the crushed Oreos add a crunchy counterpoint that shatters like thin ice. The green food coloring isn’t just for looks – it gives the batter a subtle, eye‑catching hue that feels like a secret garden. And the pumpkin candies? They’re the final touch, adding a chewy, sweet candy pop that keeps kids coming back for more.
If you’ve ever struggled with brownies that are either too dry or too gooey, you’re not alone – and I’ve got the fix. I’ll be honest, I ate half the batch before anyone else got to try it, and the kitchen smelled like heaven. Most recipes get this completely wrong, but here’s what actually works. Picture yourself pulling this out of the oven, the whole kitchen smelling incredible, and the kids’ eyes widening at the sight of the green‑tinted brownies. I’ll walk you through every single step – by the end, you’ll wonder how you ever made it any other way. Let’s dive in.
What Makes This Version Stand Out
- Flavor: The combination of a classic brownie base with white chocolate chips and chocolate frosting creates a layered chocolate experience that feels like a dessert on a dessert. The bright green hue adds a playful visual that captivates kids and adults alike. The pumpkin candies provide a chewy, sweet candy pop that keeps the brownies from feeling heavy.
- Texture: The crushed Oreos introduce a satisfying crunch that contrasts with the soft, fudgy brownie interior. The chocolate frosting layer adds a silky finish that melts in the mouth. The overall mouthfeel is a delightful mix of chewy, crunchy, and gooey.
- Simplicity: With only a handful of pantry staples, you can create a show‑stopping treat in under an hour. No advanced techniques or obscure ingredients are required – just a box of brownie mix and a few extra goodies.
- Uniqueness: The green food coloring and pumpkin candies give these brownies a whimsical twist that sets them apart from your typical chocolate treats. They’re perfect for themed parties or a fun family gathering.
- Crowd Reaction: Kids love the green color, the crunch, and the candy surprise. Adults appreciate the rich chocolate layers and the fact that they can make it quickly for a special occasion.
- Ingredient Quality: Using a high‑quality brownie mix ensures a buttery, chocolatey base. Opt for premium white chocolate chips and a chocolate frosting with a smooth finish for the best results.
- Cooking Method: The method involves a single baking step, which means less cleanup and more time to enjoy the finished product.
- Make‑ahead Potential: You can bake the brownies a day ahead and store them in an airtight container, allowing the flavors to meld even further.
Alright, let's break down exactly what goes into this masterpiece…
Inside the Ingredient List
The Flavor Base
The box of brownie mix is the heart of this recipe. It brings together flour, sugar, cocoa, and leavening agents in a balanced blend that yields a dense, fudgy texture. If you skip the mix and try to build a batter from scratch, you’ll spend hours measuring and balancing flavors, which defeats the purpose of this quick recipe. A good quality mix with a high cocoa content ensures a deep chocolate flavor that stands up to the white chocolate chips and frosting.
The Texture Crew
Crushed Oreos add a delightful crunch that pops in your mouth and contrasts with the smooth brownie interior. The white chocolate chips, meanwhile, melt into the batter creating pockets of silky sweetness. The pumpkin candies provide a chewy, candy‑like bite that surprises the palate. If you’re allergic to chocolate, you can substitute the white chocolate chips with caramel chips for a different flavor profile.
The Unexpected Star
Green food coloring is more than just a visual trick; it signals to kids that this is a special treat. A few drops are enough to tint the batter a bright, eye‑catching green without altering the flavor. If you’re worried about using artificial dyes, you can use a small amount of natural spinach powder for a subtle green hue, though it may slightly affect the taste.
The Final Flourish
Chocolate frosting is the crowning glory that sits atop the brownies, adding a silky, sweet finish. The frosting melts slightly when it contacts the warm brownies, creating a gooey, indulgent layer. If you prefer a less sweet finish, you can drizzle melted dark chocolate instead of frosting, which will give a richer, bittersweet finish.
Everything’s prepped? Good. Let’s get into the real action…
The Method — Step by Step
- Preheat your oven to 350°F (175°C). Line a 9x13-inch baking pan with parchment paper, leaving a slight overhang on the sides so you can lift the brownies out later. This simple step ensures the brownies don’t stick and makes cleanup a breeze. The aroma of chocolate will start to fill the kitchen even before you start mixing.
- In a large mixing bowl, pour the entire box of brownie mix. Add the 1/2 cup of vegetable oil and whisk until the mixture is smooth and glossy. The oil keeps the brownies moist and helps the batter spread evenly. I always watch the batter as it transforms from a dry powder into a silky, thick mixture.
- Fold in the 1 cup of white chocolate chips, making sure they’re evenly distributed. The white chocolate chips will melt into pockets of sweet, creamy flavor. Be careful not to over‑mix; the batter should remain light and airy. The white chocolate adds a subtle contrast to the deep chocolate base.
- Add the 2 drops of green food coloring to the batter. Stir slowly until the color is uniform; a few drops are enough to give the batter a vibrant hue. If you prefer a more natural look, you can use a pinch of matcha powder instead, though it will slightly alter the flavor.
- Pour the batter into the prepared pan, spreading it evenly with a spatula. The batter should fill the pan to about 3/4 full. This ensures a good rise and a firm base for the toppings.
- Sprinkle the 1 cup of crushed Oreos over the top of the batter. Gently press them in so they’re partially embedded. The Oreos add a crunchy texture that will contrast with the soft brownies. Don’t press too hard or you’ll lose the crunch.
- Bake for 25–30 minutes, or until a toothpick inserted into the center comes out with a few moist crumbs. The brownies should have a slightly crisp edge and a soft, gooey center. Keep an eye on them; overbaking will dry them out.
- While the brownies are still hot, spread 1 cup of chocolate frosting over the top in a thin layer. The frosting will melt slightly, creating a silky glaze that’s impossible to resist. If you like a thicker frosting layer, you can apply a second coat once the first has set.
- Finally, scatter the 1 cup of pumpkin candies over the frosting. They’ll sit on top, giving a bright, candy‑like finish that kids can’t resist. Let the brownies cool completely before cutting into squares; this allows the frosting to set and the flavors to meld.
That’s it — you did it. But hold on, I’ve got a few more tricks that will take this to another level…
Insider Tricks for Flawless Results
The Temperature Rule Nobody Follows
Many bakers bake at 375°F, but that’s too hot for this recipe. Baking at 350°F gives the brownies a perfect rise and a tender crumb. If you’re using a convection oven, reduce the temperature by 25°F to avoid over‑baking.
Why Your Nose Knows Best
As the brownies bake, the smell of chocolate and toasted sugar will fill the kitchen. Trust that aroma – it’s a sign the brownies are nearly done. I’ve learned to stop the timer when the scent hits its peak; that’s when the brownies are at their best.
The 5‑Minute Rest That Changes Everything
Let the brownies rest for at least five minutes after removing them from the oven. This allows the interior to set and the frosting to firm up slightly, making the brownies easier to cut cleanly. Skipping this step often results in a messier presentation.
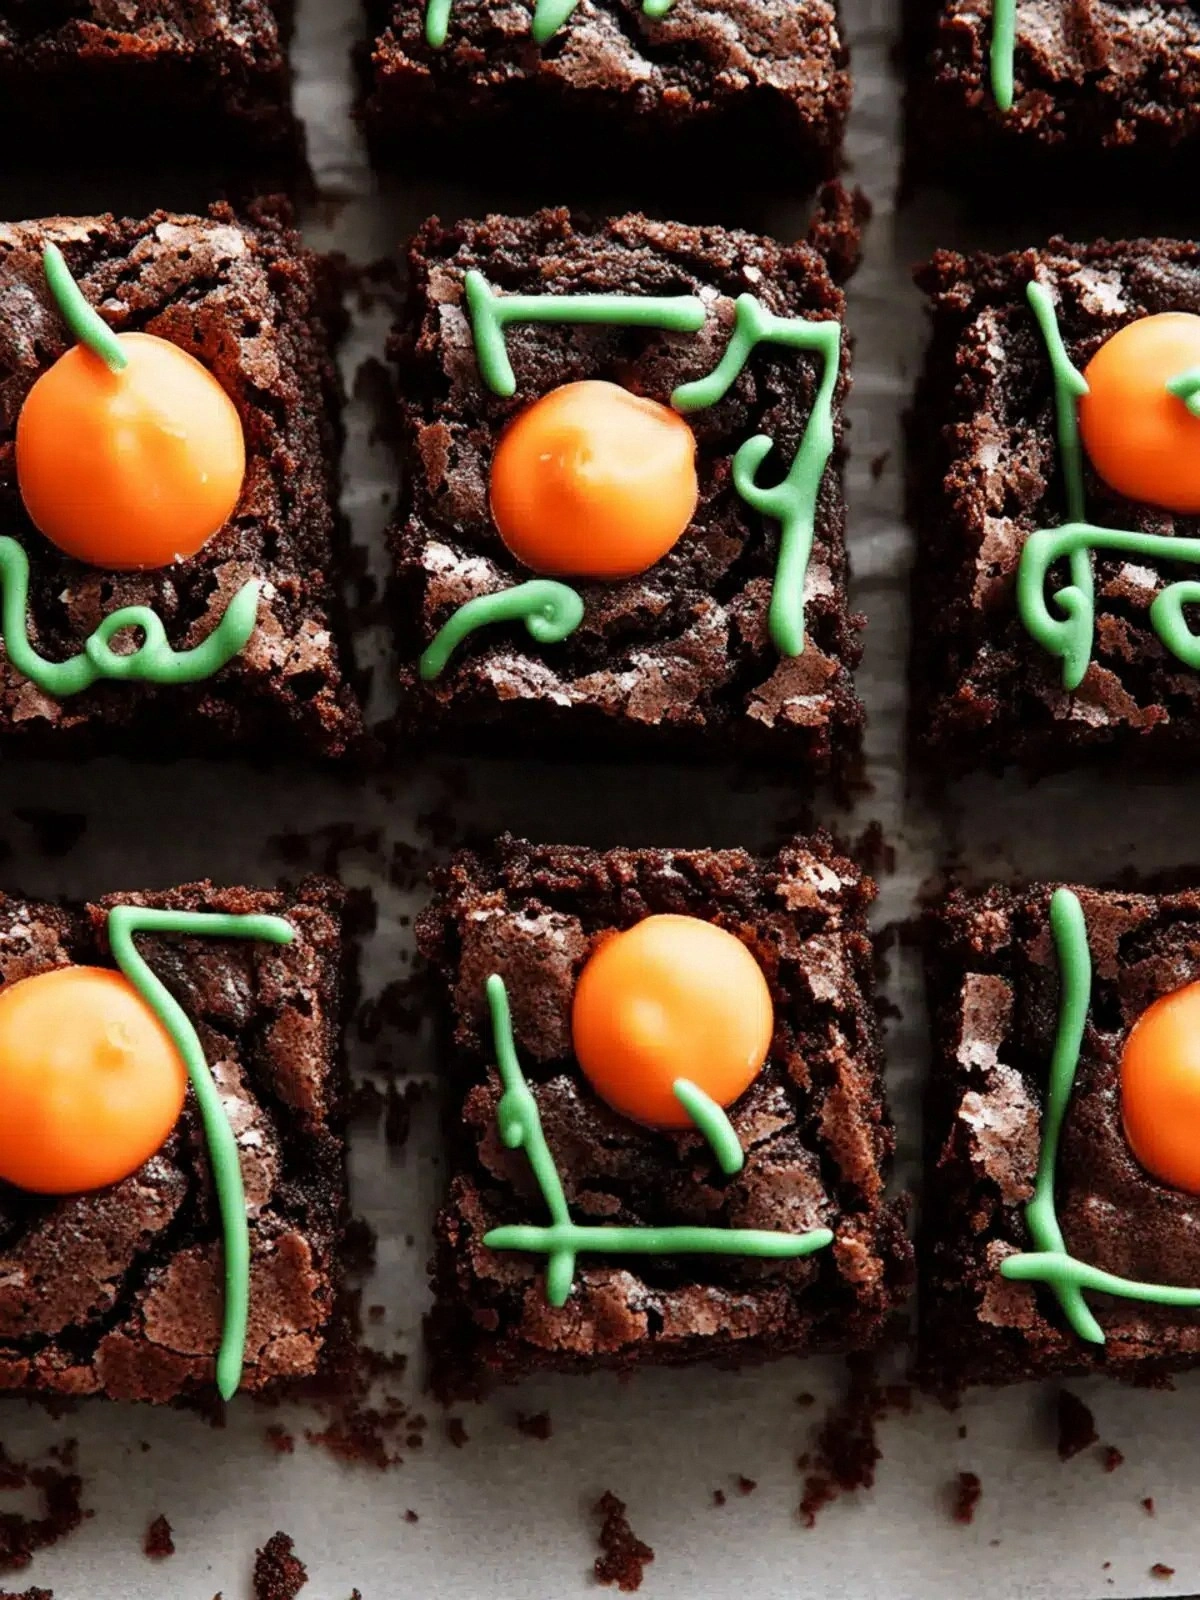
The Green Surprise
If you want to amp up the green aesthetic, drizzle a thin line of green food coloring over the frosting after it has set. This creates a marbled effect that looks like a patch of fresh grass. Kids will love the visual trick.
The Pumpkin Candy Placement
For a more dramatic effect, arrange the pumpkin candies in a circular pattern on the frosting, leaving a ring of frosting in the center. This design looks like a pumpkin patch and adds a playful visual element to the brownies.
Creative Twists and Variations
This recipe is a playground. Here are some of my favorite ways to switch things up:
Nutty Crunch
Swap the crushed Oreos for chopped walnuts or pecans. The nuts add a buttery crunch and a subtle earthiness that pairs beautifully with the chocolate. They also introduce a new texture that keeps the brownies interesting.
Caramel Swirl
Replace the chocolate frosting with a swirl of caramel sauce. The caramel’s buttery sweetness contrasts with the chocolate base, creating a decadent flavor profile that’s perfect for a special occasion.
Minty Fresh
Add a few drops of mint extract to the batter instead of green food coloring. The mint flavor will complement the chocolate and give the brownies a refreshing aftertaste, ideal for a summer treat.
Dark Chocolate Explosion
Use dark chocolate chips instead of white chocolate and replace the frosting with a dark chocolate ganache. The bitterness of the dark chocolate balances the sweetness of the frosting and creates a sophisticated flavor profile.
Citrus Zest
Add a tablespoon of lemon zest to the batter for a bright, citrusy kick. The zest adds a subtle brightness that cuts through the richness of the chocolate, making the brownies feel lighter.
Spiced Pumpkin
Fold in a teaspoon of pumpkin spice blend (cinnamon, nutmeg, ginger, cloves) into the batter. The warm spices will deepen the pumpkin candy’s flavor and give the brownies a cozy, autumnal feel.
Storing and Bringing It Back to Life
Fridge Storage
Store the brownies in an airtight container in the refrigerator for up to five days. The frosting will firm up slightly, so let the brownies sit at room temperature for 15 minutes before serving to restore the silky texture. If you notice the brownies drying out, add a small piece of parchment paper to the container to maintain moisture.
Freezer Friendly
Wrap each brownie square individually in plastic wrap and place them in a freezer bag. Freeze for up to two months. When you’re ready to enjoy, thaw at room temperature for 30 minutes. The brownies will retain their fudgy texture and the frosting will stay intact.
Best Reheating Method
To revive frozen brownies, preheat your oven to 300°F (150°C) and bake for 10–12 minutes. Alternatively, microwave on low power for 20–30 seconds. Add a tiny splash of water to the oven bag before reheating; the steam will help the brownies stay moist and restore their gooey center.