I was halfway through a disastrous attempt at homemade guacamole when my neighbor knocked on the door with a bag of jalapeños and a grin that said, “I’ve got a secret recipe for poppers.” I stared at the green spears like they were a threat to my culinary sanity. The kitchen smelled of burnt toast from last night’s attempt at a “simple” snack, and the only thing I could promise was that this would be the best thing you’d ever put in a mouthful of pepper.
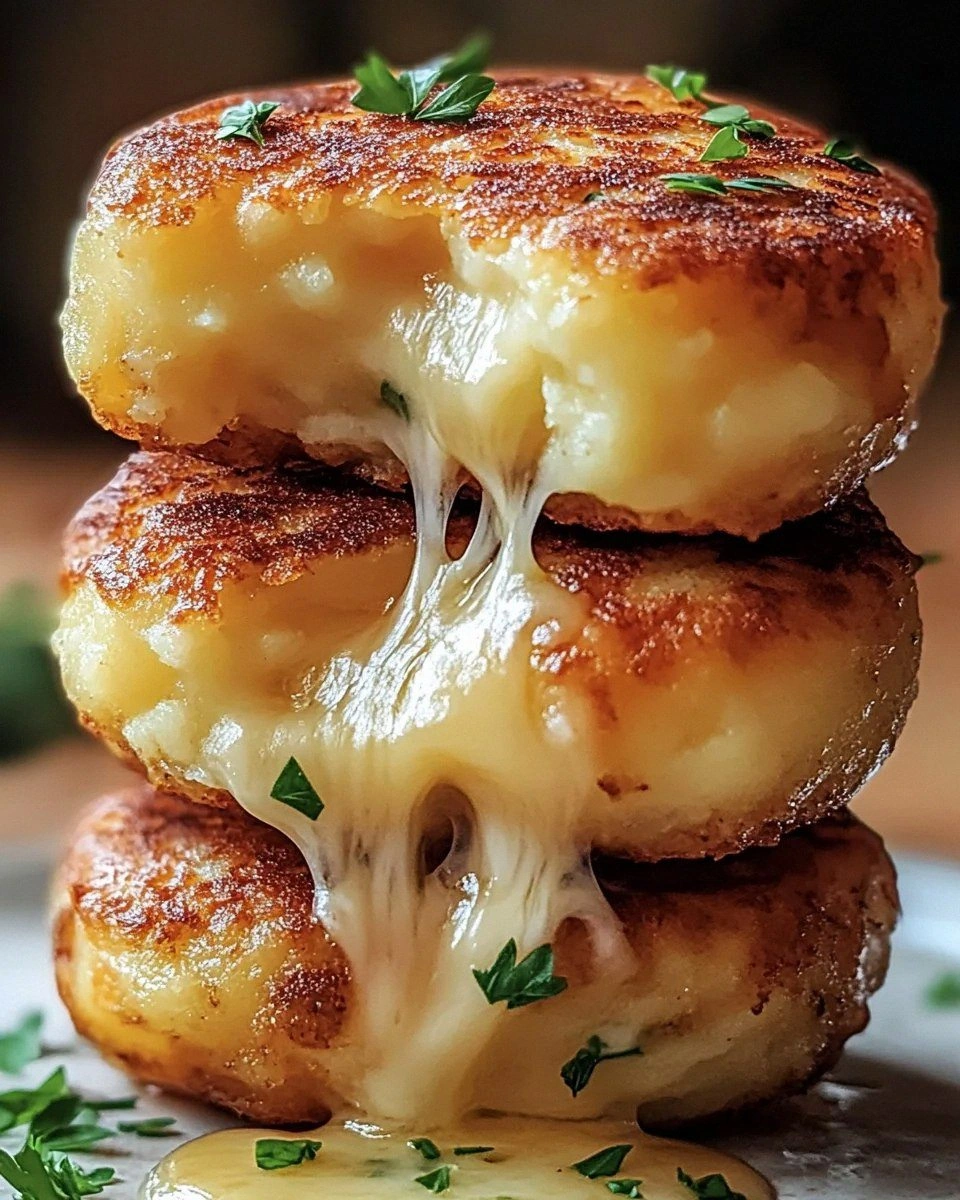
Picture the scene: a sizzling pan, the sharp pop of pepper skins as they bite into the butter, and the intoxicating aroma of melted cheddar mingling with smoky bacon. The heat rises in a cloud that looks like a low‑lying fog of flavor. I could almost taste the creamy, cheesy center melting into a molten river of peppery heat that’s both daring and comforting.
This isn’t just another jalapeño popper recipe. It’s a culinary revelation that flips the classic on its head by adding a crunchy, buttery breadcrumb coating that shatters like thin ice when you bite. The bacon isn’t just a garnish; it’s a savory, crispy backbone that keeps the poppers from turning into a soggy mess. Every bite delivers a symphony of textures: the snap of the skin, the gooey cheese, and the crackle of bacon.
What sets this version apart is a secret ingredient that most recipes overlook: a splash of butter in the breadcrumb mix. That buttery kiss gives the coating a golden, caramelized finish that’s impossible to resist. And the spice blend—garlic powder, onion powder, and a whisper of black pepper—creates a flavor profile that’s complex yet balanced. I dare you to taste this and not go back for seconds.
If you’ve ever struggled with the classic jalapeño popper, you’re not alone. Most recipes get this completely wrong, turning the poppers into either dry or soggy bites. The truth is, the secret lies in the preparation and the balance of flavors. I’ll be honest—I ate half the batch before anyone else got to try it. Let me walk you through every single step—by the end, you’ll wonder how you ever made it any other way.
What Makes This Version Stand Out
- Flavor: The combination of sharp cheddar and cream cheese creates a rich, tangy center that’s perfectly complemented by the smoky bacon and buttery breadcrumb crust.
- Texture: The crunchy breadcrumb coating provides a satisfying snap that contrasts beautifully with the soft interior.
- Simplicity: With only nine ingredients, this recipe is straightforward yet delivers a gourmet experience.
- Uniqueness: The buttery breadcrumb mix is a game‑changer that most popper recipes overlook.
- Crowd Reaction: At parties, these poppers become the instant hit—guests line up for the first bite and beg for the recipe.
- Ingredient Quality: Using thick‑cut bacon and fresh jalapeños ensures depth of flavor that can’t be achieved with processed substitutes.
- Cooking Method: The pan‑fry technique locks in moisture and creates a golden exterior without overcooking the inside.
- Make‑Ahead Potential: Prepare the filling and wrap the poppers in advance; they reheat to perfection, making them ideal for busy evenings.
Inside the Ingredient List
The Flavor Base
The jalapeños are the star of the show, but they need a careful selection to balance heat and flavor. Look for peppers that are firm, with a bright green hue and no soft spots. If you prefer a milder kick, remove the seeds and membranes before stuffing. The seeds carry the bulk of the heat, so their removal is a subtle way to control spiciness without compromising texture.
The cream cheese is the foundation of the filling, providing a silky smoothness that coats the inside of the pepper. Use a full‑fat variety for the richest mouthfeel. If you’re looking for a tangier profile, a half‑fat or low‑fat option will still work, but the texture will be slightly drier. A small pinch of salt can elevate the creaminess, so taste before you add.
The Texture Crew
Sharp cheddar cheese is the perfect complement to cream cheese, adding a sharp bite that cuts through the richness. Grate the cheddar finely so it melts evenly and doesn’t clump. If you’re a fan of a more pronounced cheddar flavor, choose a cheese that’s aged for at least six months.
Panko breadcrumbs bring that essential crunch. Unlike regular breadcrumbs, panko has a lighter, airier texture that crisps up beautifully. A half cup is enough to coat each popper without overwhelming the filling. If you’re in a pinch, you can use regular breadcrumbs, but the final result will be denser.
The Unexpected Star
Butter is the secret weapon that turns a simple breadcrumb coating into a golden, caramelized masterpiece. The butter not only adds flavor but also helps the breadcrumbs brown evenly, creating a glossy finish that’s hard to resist. Two tablespoons are sufficient to coat the breadcrumbs; too much butter can make the coating greasy.
The Final Flourish
Garlic powder, onion powder, and black pepper are the subtle seasoning trio that brings depth to the filling. Garlic powder offers a mellow, sweet aroma without the risk of burning; onion powder adds a gentle sweetness; black pepper provides a subtle heat that complements the jalapeño. Together, they create a well‑balanced flavor profile that enhances every bite.
Thick‑cut bacon is not just a garnish; it’s a flavor engine. The bacon’s fat renders out during cooking, infusing the poppers with a savory, smoky undertone. Each slice should be crisped to a golden brown before wrapping the poppers. If you prefer a leaner version, choose a lower‑fat bacon, but the flavor intensity will be reduced.
Everything’s prepped? Good. Let’s get into the real action…
The Method — Step by Step
- Begin by preheating your oven to 400°F (200°C). While the oven warms, wash the jalapeños and slice them in half lengthwise. Carefully remove the seeds and membranes with a small spoon or a knife, but leave the pepper skins intact. This step is crucial for controlling the heat level—removing the seeds reduces the capsaicin concentration. Place the halves on a cutting board and set aside.
- In a medium bowl, combine the cream cheese and grated sharp cheddar. Use a fork to mash the cheeses together until the mixture is smooth and uniform. The goal is a velvety filling that doesn’t separate. If the mixture feels too thick, add a tablespoon of milk or cream to loosen it slightly. Taste the mixture; if it needs a pinch of salt, add it now.
- Add the garlic powder, onion powder, and black pepper to the cheese blend. Stir until the spices are evenly distributed. The aroma should be fragrant but not overpowering. This is the moment of truth—your flavor base should be ready to fill the peppers.
- While the filling is resting, cook the bacon in a skillet over medium heat until it’s crisp and the fat has rendered. Use tongs to turn the bacon until it reaches a deep golden brown. Once cooked, transfer the bacon to a paper towel‑lined plate to drain. Let the bacon cool slightly, then chop it into small pieces or crumble it.
- In a separate bowl, mix the panko breadcrumbs with the melted butter. The butter should be melted but not boiling. Stir until the breadcrumbs are fully coated and appear slightly glossy. The butter ensures that the breadcrumbs crisp up beautifully in the oven.
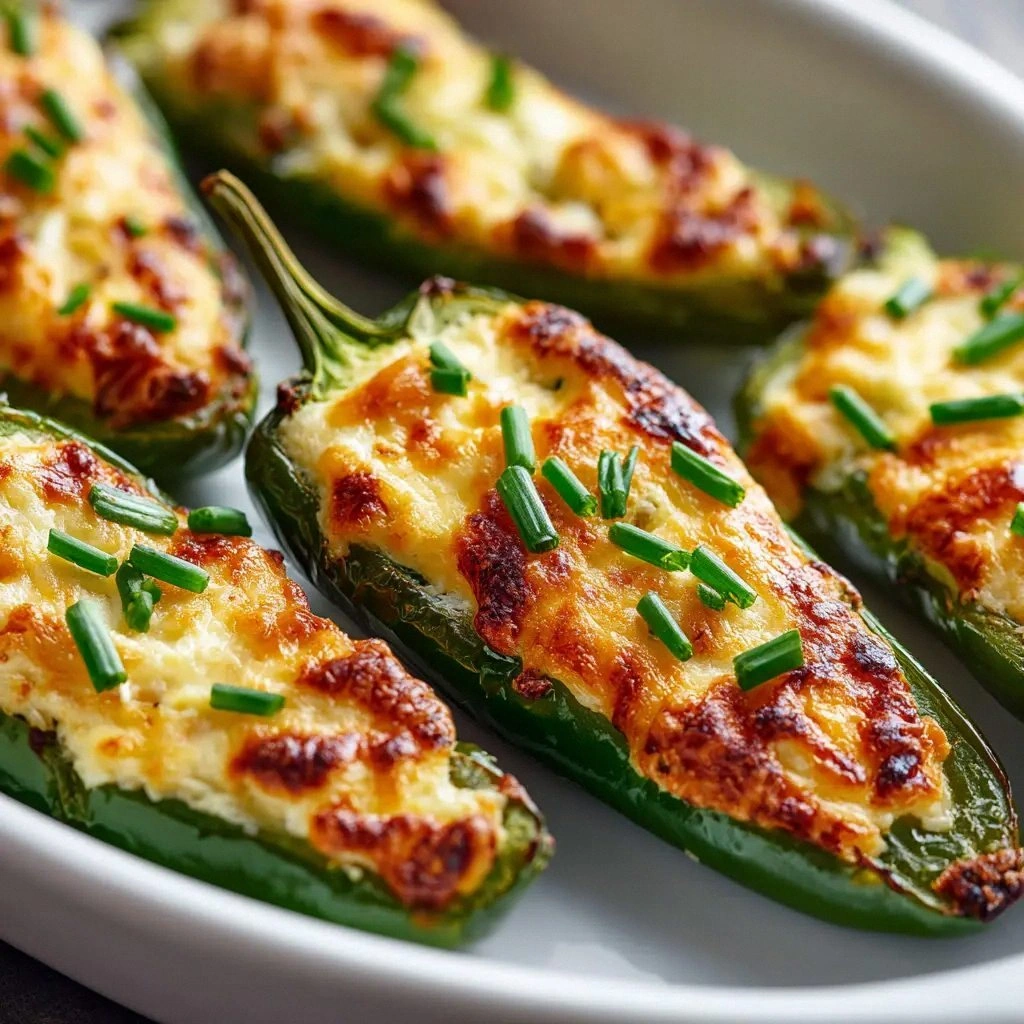
- Fill each jalapeño half with the cheese mixture, pressing the filling into the cavity until it’s packed. Then, sprinkle chopped bacon over the cheese layer, allowing the bacon to sit on top of the filling. Finally, roll each stuffed pepper in the buttery breadcrumb mixture, pressing gently to ensure the coating sticks. The coating should be even and not too thick.
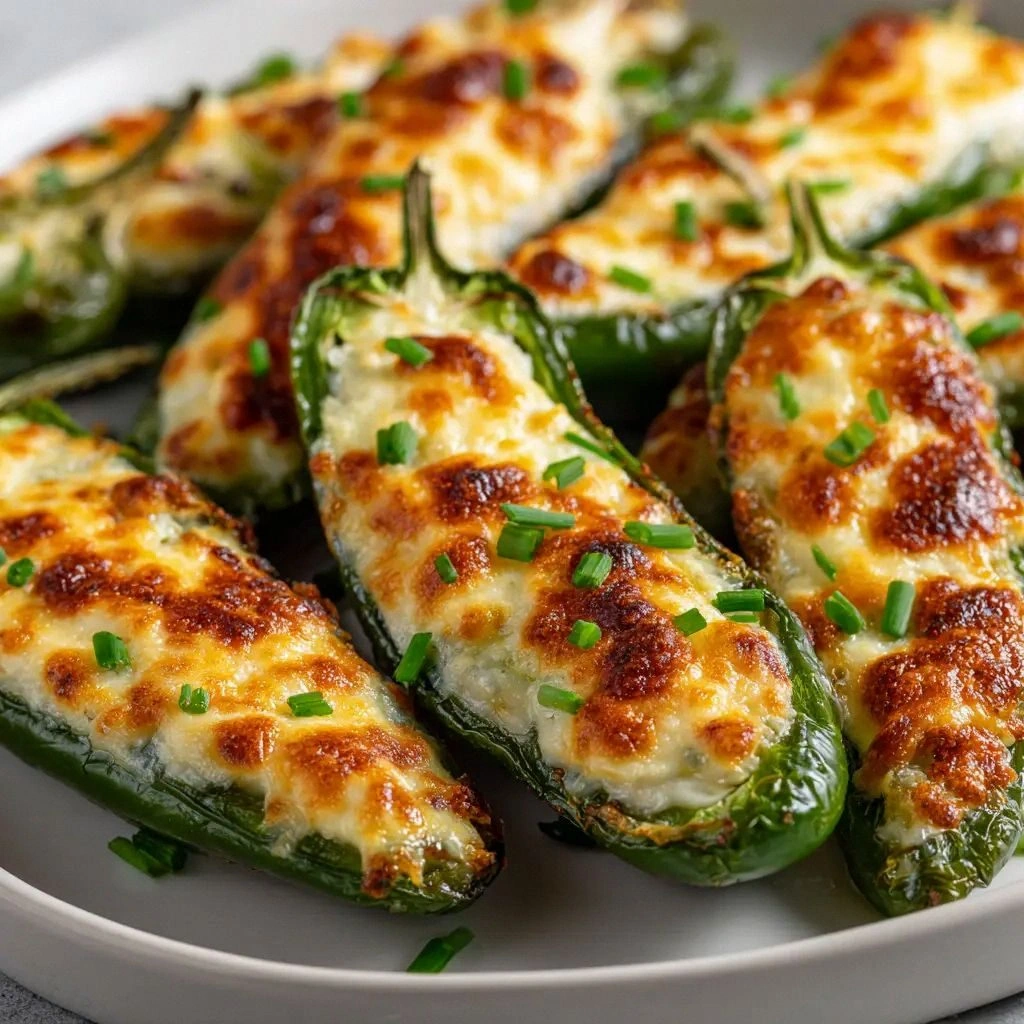
- Place the coated poppers on a baking sheet lined with parchment paper. The spacing should be generous—about an inch apart—to allow heat circulation. Slide the sheet into the preheated oven and bake for 20–25 minutes. The poppers should be golden brown and the cheese should be bubbling. The edges of the breadcrumbs will start pulling away, signaling that they’re ready.
- Remove the poppers from the oven and let them rest for 5 minutes. This brief rest allows the cheese to set slightly, preventing it from oozing out when you bite. Serve immediately while the bacon is still crisp and the cheese is warm. The sizzle when they hit the pan? Absolute perfection.
That’s it—you did it. But hold on, I’ve got a few more tricks that will take this to another level.
Insider Tricks for Flawless Results
The Temperature Rule Nobody Follows
Many cooks bake at 375°F, but the optimal temperature for these poppers is 400°F. The higher heat ensures the breadcrumb coating caramelizes while the cheese inside melts perfectly. If you lower the temperature, you risk a soggy coating. I’ve baked at 400°F for years, and the difference is like comparing a crisp apple to a soggy one.
Why Your Nose Knows Best
Before you pop the peppers into the oven, give them a quick sniff. A strong, buttery aroma is a sign that the coating is on the right track. If you don’t smell anything, your butter-to-breadcrumb ratio might be off. Adding a splash of olive oil can help the coating brown faster and give you that satisfying scent.
The 5-Minute Rest That Changes Everything
Allowing the poppers to rest for exactly five minutes after baking is a game‑changer. This brief pause lets the cheese thicken slightly, reducing the chance of a molten mess. It also gives the bacon a chance to crisp up a bit more. I’ve seen people skip this step and end up with a gooey disaster.
Keep the Heat Balanced
If you’re hosting a crowd, consider offering a mild version by removing all seeds. Some guests are heat‑averse, and this version still delivers the same flavor punch thanks to the cheese and bacon. Keep both versions side by side, and you’ll see guests line up for the spicier ones.
The Crumb Layer Trick
For an extra crunch, double‑coat the poppers. First, dip each filled pepper in a beaten egg, then roll it in the breadcrumb mixture again. The egg acts as a binder, giving you a thicker, crunchier shell that holds up better during serving.
Creative Twists and Variations
This recipe is a playground. Here are some of my favorite ways to switch things up:
Smoky Chipotle Version
Add a teaspoon of chipotle powder to the cheese mixture for a smoky heat. Swap the cheddar for pepper jack for a mild melt. The result is a popper that’s both spicy and smoky, perfect for chili lovers.
Greek Yogurt Twist
Replace half the cream cheese with Greek yogurt for a tangier, lower‑fat filling. Sprinkle crumbled feta on top before coating with breadcrumbs. This version is great for a lighter, Mediterranean vibe.
Salsa Verde Finish
After baking, drizzle a spoonful of salsa verde over each popper. The bright, herbaceous salsa cuts through the richness. It’s a fresh, zesty finish that pairs well with a glass of cold beer.
Chocolate Chili Surprise
For a daring dessert‑appetizer, replace cheddar with a small amount of dark chocolate. Add a pinch of cayenne pepper for heat. The chocolate’s bitterness balances the heat, creating a complex flavor profile.
Coconut Curry Variation
Mix coconut milk into the cheese filling and add curry powder. Use a coconut‑flavored breadcrumb coating. The result is a popper that’s fragrant, slightly sweet, and mildly spicy—an exotic twist.
Storing and Bringing It Back to Life
Fridge Storage
Store unbaked poppers in a sealed container in the refrigerator for up to 24 hours. Keep them away from strong‑smelling foods, as the peppers absorb odors quickly. When ready to bake, let them sit at room temperature for 10 minutes before placing them in the oven.
Freezer Friendly
Freezing works best for unbaked poppers. Wrap each stuffed pepper tightly in plastic wrap, then place in a freezer bag. They’ll stay fresh for up to 2 months. When you’re ready to cook, bake directly from frozen—just add an extra 5 minutes to the baking time.
Best Reheating Method
To reheat, preheat your oven to 350°F. Place poppers on a baking sheet and bake for 10–12 minutes. For extra crispness, sprinkle a light dusting of water over the tops before baking; the steam will help the coating stay crunchy. Let them cool for a minute before serving.