I remember the night before Christmas Eve, standing in my kitchen with a bag of graham crackers, a jar of powdered sugar, and an unassuming bowl of cream cheese, feeling the weight of the holiday season pressing down on me. The air was thick with the scent of cinnamon and pine, but my craving was for something that could bring that warmth into a bite-sized form. I stared at the ingredients, realizing that a simple no‑bake cheesecake could transform into a holiday treat that would make every guest feel like they were walking into a winter wonderland. I had been told that this version of a no‑bake cheesecake bite is “hands down the best version you'll ever make at home,” and I was about to prove it.
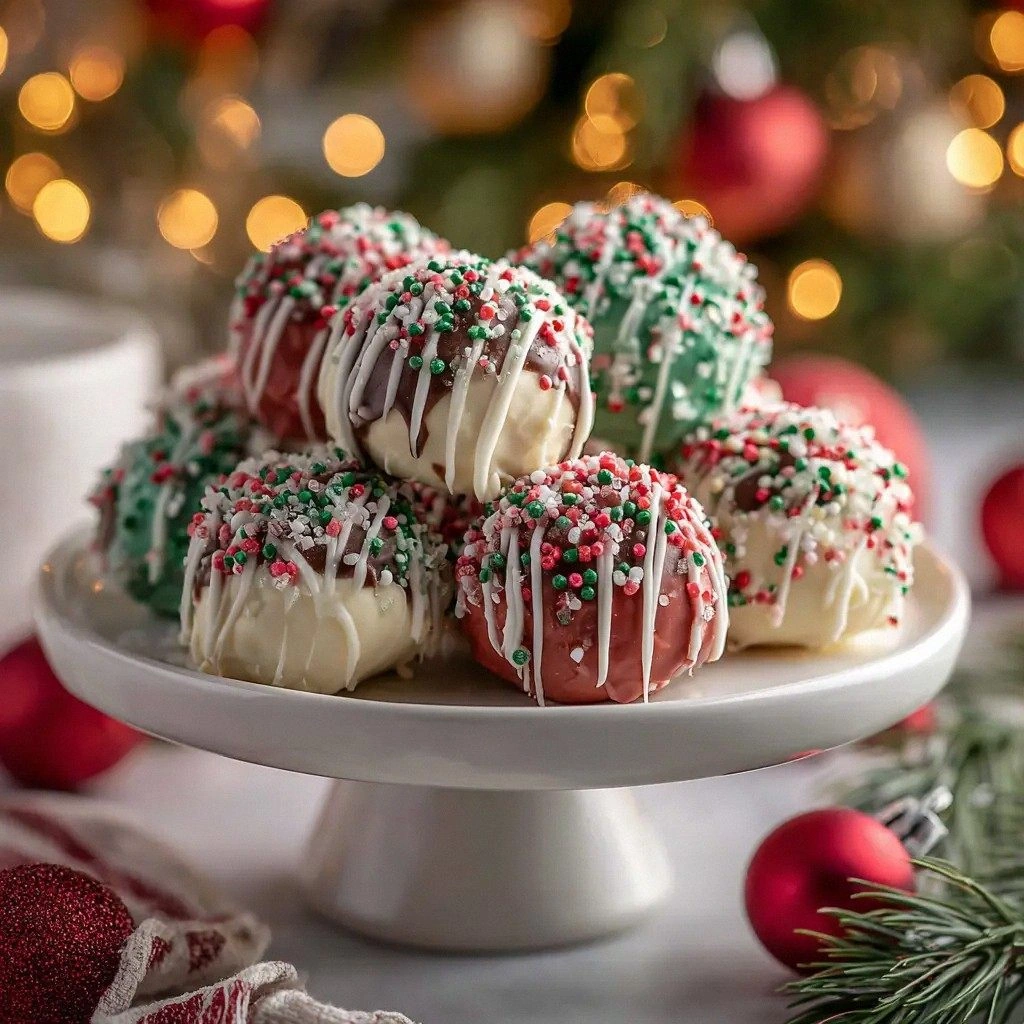
Picture this: a glossy, chocolate‑coated bite that melts in your mouth like a snowflake in summer, with a creamy center that oozes vanilla and a crunchy graham cracker base that gives a satisfying snap. The first thing you notice is the aroma—rich white chocolate, the faint citrus of vanilla, and a hint of toasted sugar that lingers in the air like a memory of a cozy fireplace. The texture is a masterpiece: a delicate crunch that gives way to a silky, velvety filling, followed by a final burst of festive sprinkles that add a playful pop of color. I dare you to taste this and not go back for seconds, because once you do, you’ll be chasing the same flavor again and again.
What makes this recipe stand out is not just the ingredients, but the way they work together to create a harmony of flavors and textures that feels both indulgent and comforting. I’ve taken the classic no‑bake cheesecake concept and elevated it with a few secret twists: a splash of heavy cream to soften the filling, a touch of coconut oil to add a subtle tropical hint, and a generous handful of white chocolate wafers that give that signature chocolate bite. Every step is designed to be simple yet precise, so that even a novice can achieve a professional‑grade result. If you’ve ever struggled with a cheesecake that turns out too dense or too runny, you’re not alone—and I’ve got the fix.
And so, I’ll walk you through every single step. By the end, you’ll wonder how you ever made it any other way. Let’s dive into the magic that happens when ordinary pantry staples meet a dash of holiday cheer.
What Makes This Version Stand Out
- Taste: The combination of sweet graham crackers, velvety cream cheese, and glossy white chocolate creates a layered flavor profile that satisfies both sweet and slightly savory cravings. The vanilla and heavy cream elevate the richness without overpowering the delicate base.
- Texture: The base offers a satisfying crunch, the filling delivers a silky smoothness, and the white chocolate wafers provide a subtle snap that keeps each bite interesting.
- Simplicity: No oven required, no complex techniques—just blend, chill, and serve. The recipe is perfect for a last‑minute gift or a quick holiday dessert.
- Uniqueness: The addition of coconut oil subtly brightens the flavor, while the Christmas sprinkles add a festive pop of color and crunch.
- Crowd Reaction: Guests often remark that it tastes like a luxury dessert but is made in minutes. It’s the kind of dish that becomes a staple conversation piece at holiday parties.
- Ingredient Quality: Using high‑quality cream cheese and fresh white chocolate wafers makes the difference between a good bite and a memorable one.
- Make‑Ahead Potential: Chill for up to 4 hours or freeze for later. The flavors develop over time, making it an excellent make‑ahead dessert.
Inside the Ingredient List
The Flavor Base
The graham cracker crumbs form the foundation of the bite. They provide a subtle sweetness and a crunchy texture that contrasts beautifully with the creamy filling. If you skip them, you’ll lose that essential bite and the structure that holds the cheesecake together. For a gluten‑free version, substitute almond flour or coconut flour crumbs, but remember to adjust the sugar slightly to balance the sweetness.
The Texture Crew
Cream cheese is the star that gives the filling its silky consistency. It’s crucial to soften the cream cheese to room temperature before blending; this ensures a smooth texture and prevents lumps. The heavy cream adds richness and lightness, creating a filling that melts in your mouth rather than clumping. If you’re aiming for a lighter version, replace heavy cream with coconut milk for a dairy‑free alternative.
The Unexpected Star
White chocolate melting wafers are more than just a sweet garnish—they’re an integral part of the flavor profile. The wafers melt into the filling, adding a subtle chocolate undertone that balances the sweetness of the sugar. If you can’t find white chocolate wafers, you can substitute them with white chocolate chips; just melt them slightly to mimic the wafer texture.
The Final Flourish
Christmas sprinkles are the finishing touch that brings the holiday spirit to the plate. They add a burst of color and a playful crunch that’s perfect for festive occasions. If you’re looking for a healthier option, try using dried cranberries or chopped candied ginger instead. The coconut oil, while a small component, provides a subtle tropical undertone that brightens the overall flavor profile.
Everything's prepped? Good. Let's get into the real action...
The Method — Step by Step
- Prepare the Base: In a medium bowl, combine the graham cracker crumbs, granulated sugar, melted butter, and coconut oil. Mix until the crumbs are evenly coated and the mixture looks like fine sand. Press the mixture into the bottom of a 9x9 inch lined pan, creating a uniform layer. Let the base set in the fridge for 15 minutes to firm up.
- Blend the Filling: In a high‑speed blender, combine the softened cream cheese, powdered sugar, vanilla extract, heavy cream, and white chocolate wafers. Blend on high until the mixture is completely smooth and glossy. If the mixture is too thick, add a splash of milk or more heavy cream, one tablespoon at a time, until you reach a pourable consistency.
- Assemble the Bites: Spoon the cheesecake filling over the chilled base, spreading it evenly. Use a spatula to create a gentle swirl for a marbled effect. Sprinkle the Christmas sprinkles evenly over the top, pressing them lightly into the filling so they adhere.
- Chill: Place the pan in the refrigerator for at least 4 hours, or overnight if you’re planning ahead. The filling will firm up, making it easy to cut into neat squares or cut-outs. The longer you chill, the more the flavors meld together, creating a richer taste.
- Cut and Serve: Once fully set, remove the cheesecake from the pan and cut it into bite‑sized squares or use a cookie cutter for fun shapes. Arrange the bites on a serving platter, and if you like, dust them with a little extra cocoa powder or powdered sugar for an extra touch of elegance.
- Optional Garnish: For a final flourish, drizzle a thin line of melted white chocolate over each bite. Let it set in the fridge for a few minutes before serving. This adds a glossy finish that’s as beautiful as it is delicious.
- Enjoy: Serve immediately or keep refrigerated until ready to serve. Each bite offers a perfect balance of crunch, creaminess, and festive sparkle.
That's it—you did it. But hold on, I've got a few more tricks that'll take this to another level. Let's keep the conversation going with some insider knowledge.
Insider Tricks for Flawless Results
The Temperature Rule Nobody Follows
The key to a silky filling is keeping the cream cheese at exactly room temperature before blending. If it’s too cold, the mixture will thicken and become lumpy. If it’s too warm, the butter from the base can cause the filling to separate. I keep a small bowl of warm water in the fridge to bring the cream cheese up to speed quickly.
Why Your Nose Knows Best
Before you chill, give the filling a quick sniff. A slightly sweet, vanilla aroma indicates that the sugar has blended well. If it smells overly buttery, give it a stir; the balance of flavors is critical for that melt‑in‑your‑mouth experience.
The 5‑Minute Rest That Changes Everything
After pouring the filling over the base, let it sit at room temperature for 5 minutes before chilling. This brief rest allows the crumbs to absorb some of the moisture, preventing a dry crust and ensuring a cohesive bite. A quick test: press the top of the filling; it should feel slightly springy, not hard.
Use a Silicone Mold for Easy Release
If you prefer a more uniform shape, a silicone mold works wonders. The flexible material makes it simple to pop out the cheesecake without tearing the delicate crust. Just lightly grease the mold or use a non‑stick spray before pouring the filling.
Add a Splash of Water Before Reheating
When you need to warm the bites for a quick snack, add a tiny splash of water to the pan before reheating. The steam will keep the filling moist and prevent it from drying out, restoring the original silky texture.
Creative Twists and Variations
This recipe is a playground. Here are some of my favorite ways to switch things up:
Cranberry & Orange Twist
Swap the vanilla extract for orange zest and fold in a handful of dried cranberries. The tartness of the cranberries balances the sweetness, making it a perfect holiday treat that’s both festive and sophisticated.
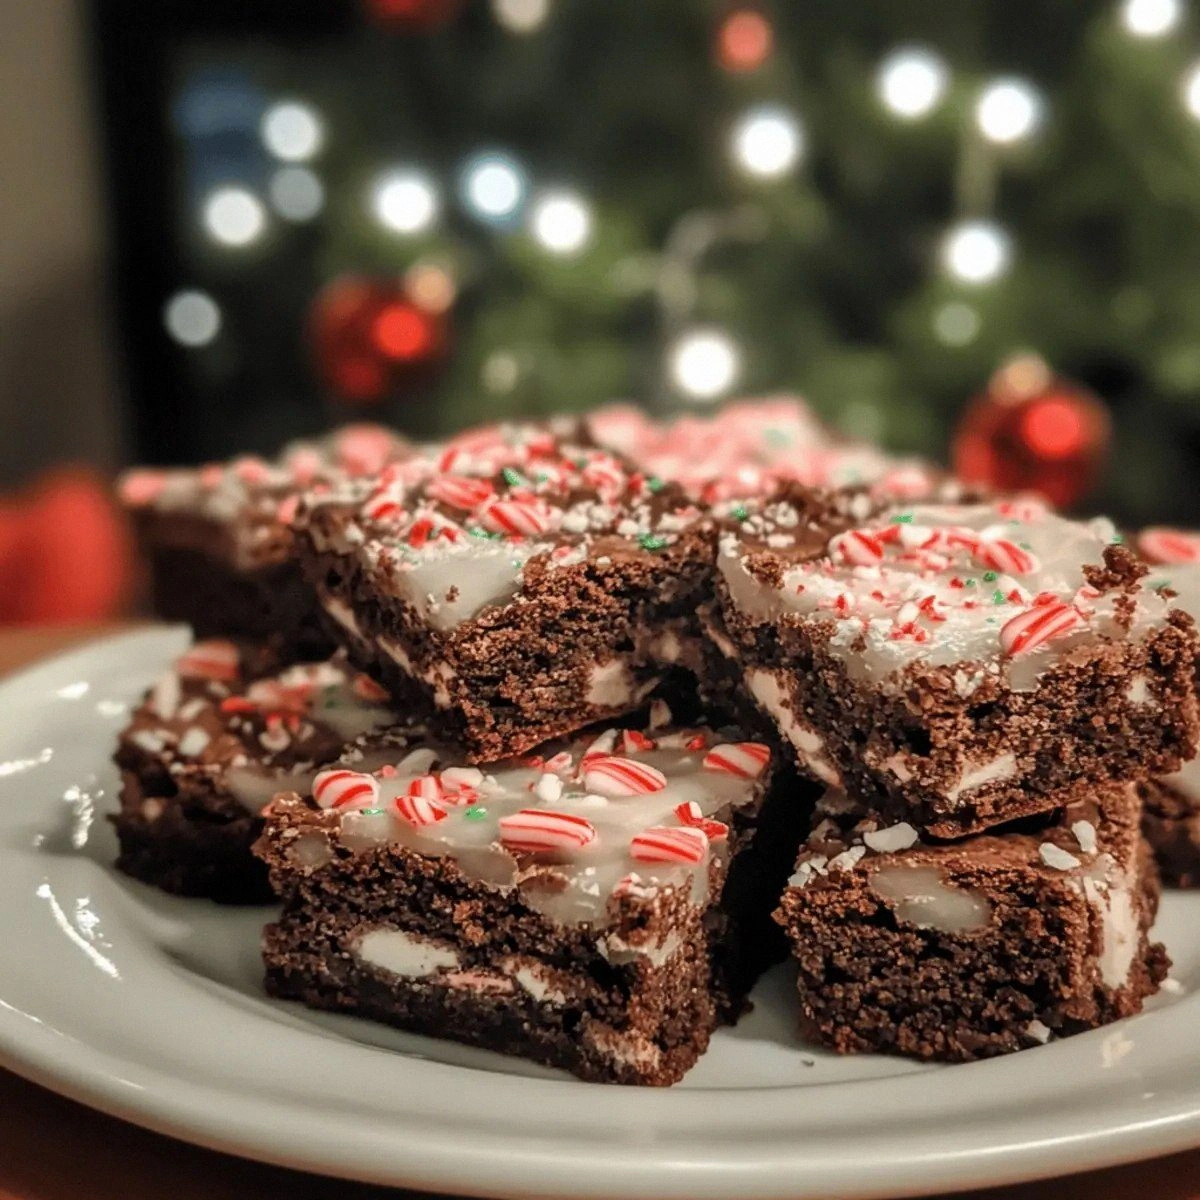
Peppermint Chocolate Surprise
Add a teaspoon of peppermint extract to the filling and sprinkle crushed peppermint candies on top. The cool mint complements the white chocolate wafers, creating a refreshing flavor that’s ideal for the winter season.
Almond Joy Variation
Replace the graham cracker crumbs with almond flour crumbs and mix in shredded coconut. Drizzle a bit of dark chocolate over the top for an almond joy twist that’s both crunchy and chewy.
Maple Bacon Bite
Incorporate a tablespoon of maple syrup into the filling and sprinkle chopped crispy bacon on top. The sweet‑savory combo is unexpected and absolutely irresistible for adventurous eaters.
Lavender Honey Edition
Stir in a teaspoon of culinary lavender and replace the powdered sugar with honey. The floral note pairs beautifully with the creamy filling, creating a sophisticated, aromatic bite.
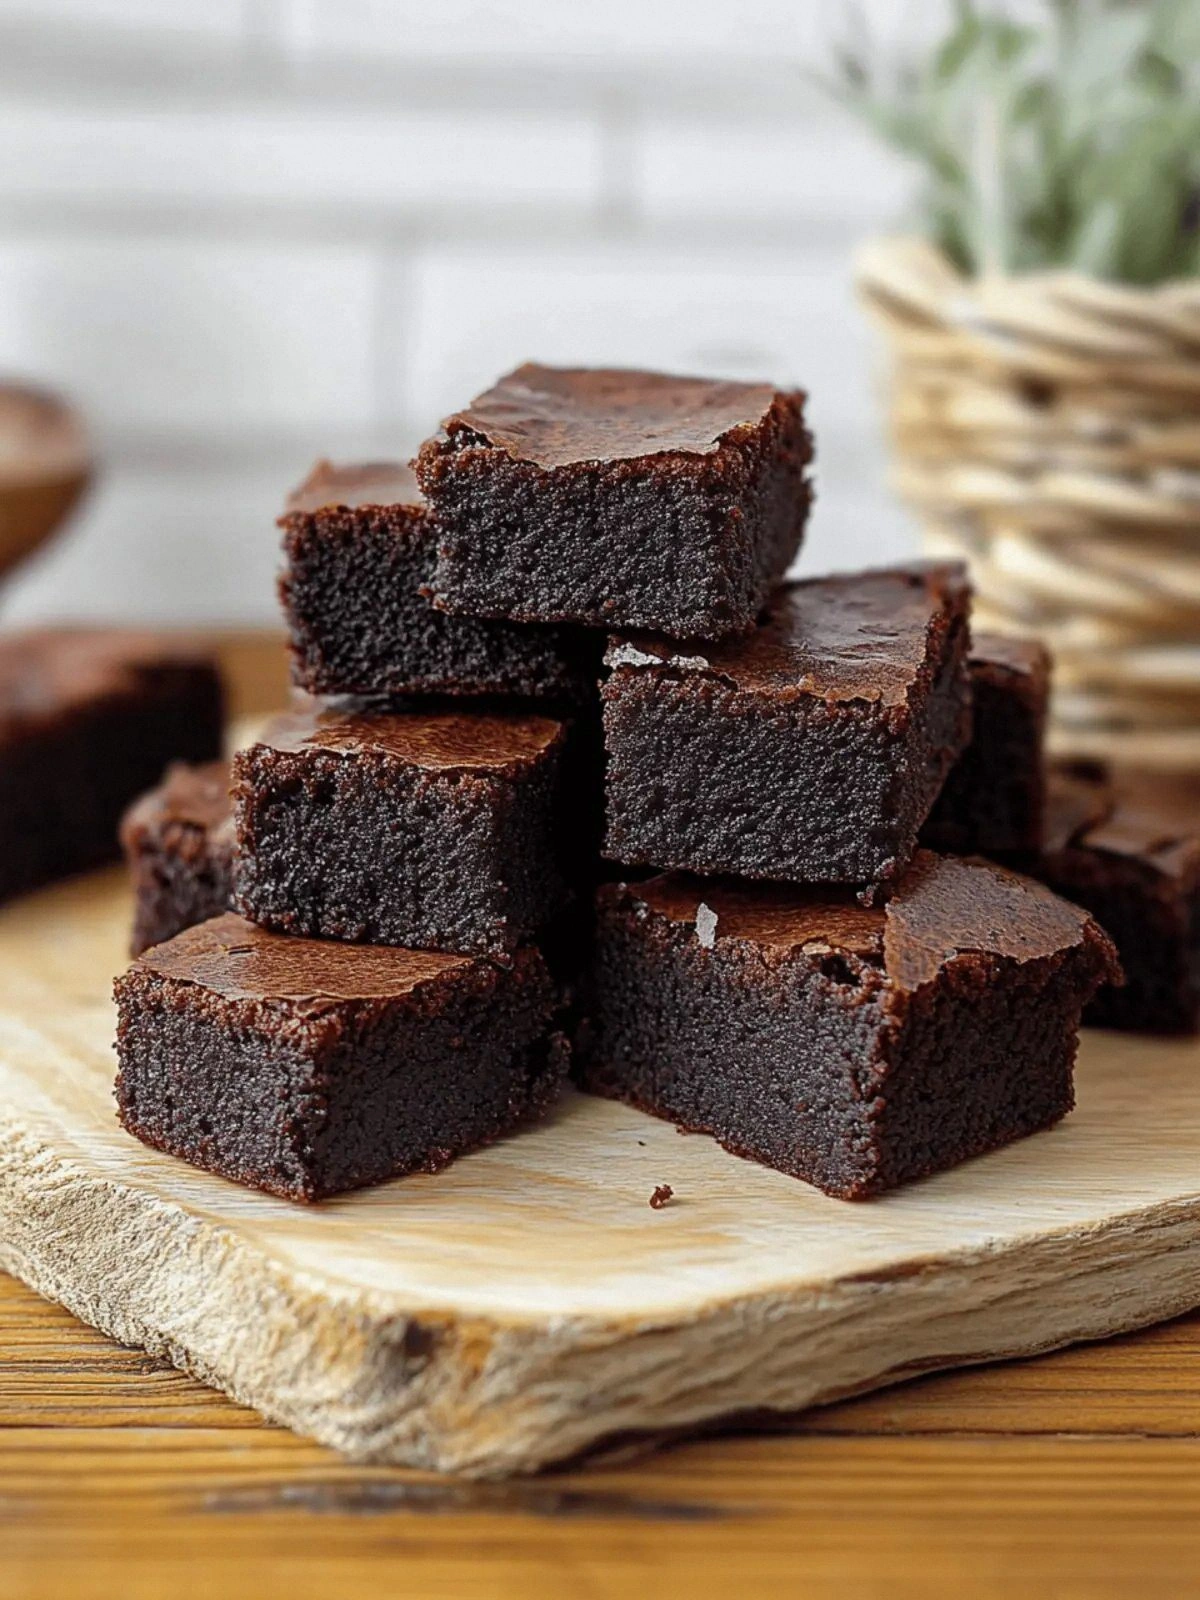
Chocolate Chip Delight
Swap the white chocolate wafers for dark chocolate chips and add a dash of sea salt to the base. The bittersweet chips and salty crunch make for a decadent dessert that still feels light.
Storing and Bringing It Back to Life
Fridge Storage
Store the cheesecake bites in an airtight container in the refrigerator for up to 5 days. Keep the container sealed to prevent the crust from becoming soggy. When ready to serve, let the bites sit at room temperature for 10 minutes to soften slightly.
Freezer Friendly
For longer storage, wrap each bite individually in plastic wrap and place them in a freezer bag. Freeze for up to 2 months. Thaw overnight in the fridge before serving; the texture will remain creamy and luscious.
Best Reheating Method
To warm the bites, place them on a microwave‑safe plate and heat on medium power for 15‑20 seconds per bite. Alternatively, gently warm them in a preheated 300°F (150°C) oven for 5 minutes. Adding a splash of water before reheating keeps the filling moist and prevents it from drying out.