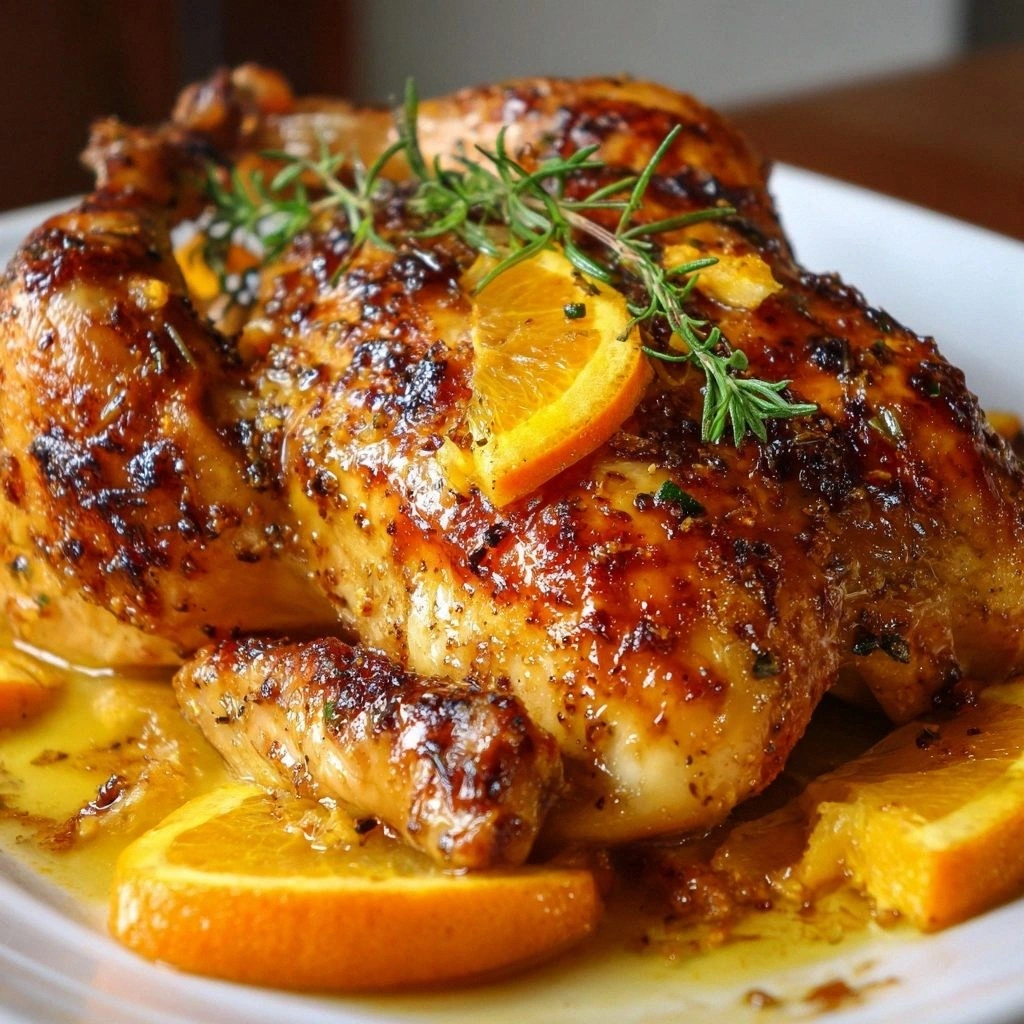
Last Tuesday I was chasing a midnight craving and ended up with a pot of burnt onions and a chicken that looked like it had been in a war zone. The kitchen smelled of scorched garlic and that unmistakable aroma of over‑cooked curry paste. I was ready to throw the dish in the trash, but a sudden craving for something creamy and spicy kept me glued to the stove. That moment of culinary crisis turned into a revelation when I decided to rescue the chicken with a splash of coconut milk. The result was a sauce that felt like velvet against the tongue, and I knew I had stumbled on something extraordinary.
The sizzle as the onions hit the pan was a symphony of caramelization, the steam rising like a cloud of promise. The aroma of fresh ginger and garlic mingled with the sweet, nutty fragrance of coconut milk, creating a heady bouquet that made my mouth water. The sight of the bright red curry paste swirling into the oil was a visual cue that flavor was about to explode. I could almost taste the subtle heat of the paste, the gentle sweetness of the coconut, and the savory depth of the chicken all at once. Each ingredient had a role, and together they formed a chorus of textures and tastes.
Unlike the bland, pre‑made curries I’ve tried, this version boasts a depth that comes from fresh, whole‑food ingredients rather than powdered mixes. The coconut milk is full‑fat, not skim, giving the sauce a luscious thickness that clings to the chicken like a second skin. The balance of heat, sweetness, and acidity is achieved by adding a dash of lime juice at the end, a trick that lifts the dish without overpowering it. The result is a curry that feels both comforting and adventurous, a dish that you can serve for a weeknight dinner or a special occasion. I dare you to taste this and not go back for seconds.
What makes this recipe truly special is a subtle technique I learned from a street vendor in Bangkok: deglazing the pan with a splash of coconut milk right after the onions are browned. That small step pulls all those caramelized bits into the sauce, adding a depth that you can’t get from just simmering the broth. It’s a simple move that turns a good curry into a great one, and I’ll show you exactly how to do it. I’ll walk you through each ingredient, each motion, and each moment of transformation. By the end, you’ll wonder how you ever made it any other way.
You’ll notice that the first few minutes of the cooking process feel like a ritual. The onions soften into a translucent golden hue, the garlic releases a sharp, aromatic perfume, and the ginger adds a bright, almost citrusy note. When the curry paste hits the oil, it sizzles with a crackle that signals the start of the flavor cascade. This is the moment when the dish begins to breathe, and you can already hear the anticipation building. Stay with me; the next steps are where the real magic happens.
The next few minutes are a dance of aromas and textures. The chicken pieces, once browned, are set aside to maintain their juiciness, while the sauce continues to develop. The addition of coconut milk at the right moment ensures a silky consistency that coats every bite. A splash of fish sauce balances the sweetness, and a pinch of sugar tames the acidity. The final splash of lime juice adds a fresh, bright counterpoint that lifts the entire dish. This careful layering of flavors is what makes the curry so memorable.
When you taste the finished dish, you’ll hear the layers of flavor echoing on your palate. The heat from the curry paste is mellowed by the coconut, creating a gentle warmth that spreads across the tongue. The lime brightens the sauce, preventing it from feeling heavy. The cilantro adds a fresh, herbal note that cuts through the richness. Every bite feels like a new discovery, and you’ll find yourself reaching for another spoonful without realizing it.
If you’ve ever struggled with making a curry that feels both authentic and approachable, you’re not alone. Many recipes overcomplicate the process or rely on pre‑made pastes that lack depth. This version strips away the fluff and focuses on fresh, simple ingredients that work together like a well‑orchestrated symphony. It’s a recipe that invites experimentation while staying true to its core. Let’s dive into what makes it stand out.
What Makes This Version Stand Out
- Flavor: The sauce is a harmony of sweet coconut, fiery red curry paste, and bright lime, creating a complex profile that lingers on the palate. Each element balances the others, ensuring no single flavor dominates. The result is a dish that feels both comforting and adventurous. It’s the kind of curry that you’ll want to recreate again and again.
- Texture: The use of full‑fat coconut milk gives the sauce a velvety thickness that clings to the chicken. The vegetables maintain a slight bite, providing contrast to the creamy base. The chicken stays tender and juicy, never dry or rubbery. The overall mouthfeel is indulgent yet balanced.
- Simplicity: Only a handful of fresh ingredients are required, yet the flavor depth is remarkable. No need for complicated spice blends or pre‑made pastes. The recipe is approachable for beginners and satisfying for seasoned cooks alike. The fewer the steps, the higher the impact.
- Uniqueness: The deglazing technique with coconut milk is rarely mentioned in mainstream recipes. It pulls caramelized bits into the sauce, adding umami that elevates the dish. This subtle trick transforms a standard curry into a standout masterpiece. It’s a small change with a big payoff.
- Crowd Reaction: Friends and family often remark that the dish tastes like they’re dining in a tropical resort. The aroma alone is enough to draw people to the table. The sauce’s richness and brightness keep guests coming back for seconds. It’s a recipe that guarantees applause.
- Ingredient Quality: Fresh, high‑quality ingredients are key. Opt for organic coconut milk if possible, and use fresh ginger and garlic for maximum aroma. The quality of the chicken also matters; bone‑in thighs add depth to the broth. The better the ingredients, the better the final result.
- Cooking Method: The step‑by‑step approach ensures that each component is cooked to perfection. The initial browning of the onions and garlic builds a flavor base that carries through the dish. The gradual simmering allows the spices to meld without losing their vibrancy.
- Make‑Ahead Potential: The curry can be prepared in advance, and the flavors actually improve after a few hours. Simply reheat gently with a splash of water to restore the sauce’s consistency. This makes it ideal for meal prep or entertaining.
Inside the Ingredient List
The Flavor Base
Red Curry Paste: This is the heart of the dish, providing a fiery kick balanced by aromatic herbs. A good paste contains fresh chilies, lemongrass, galangal, and a touch of salt. If you can’t find a store brand, you can blend fresh chilies with garlic, ginger, and a splash of lime juice for an improvised version. Skipping it will make the curry bland and devoid of that signature depth.
Coconut Milk: Full‑fat coconut milk gives the sauce its silky texture and sweet, nutty undertones. The fat content is crucial for that luxurious mouthfeel. If you prefer a lighter version, substitute half coconut milk with low‑fat coconut milk, but the sauce will be thinner. Choosing a high‑quality brand ensures no off‑flavors or artificial additives.
Fish Sauce: A splash of fish sauce adds umami and saltiness, balancing the sweetness of the coconut. It’s a small amount, but its impact is huge. If you’re vegetarian or vegan, you can replace it with soy sauce or a dash of miso for a similar depth.
The Texture Crew
Chicken Thighs: Boneless skinless thighs are the star protein, offering tenderness and a rich flavor that holds up in the sauce. They’re forgiving and stay juicy even after simmering. If you prefer breast, use it, but the texture will be leaner and less savory. The thighs’ fat content also contributes to the sauce’s richness.
Onions: Diced onions form the aromatic foundation, releasing sweetness as they caramelize. They create a base that the curry paste builds upon. Use a medium onion for the best balance of flavor and size. If you’re in a rush, pre‑dice them to save time.
Garlic and Ginger: Minced garlic and grated ginger add sharpness and a bright, almost citrusy note. They’re essential for that classic curry aroma. Fresh garlic and ginger are preferable to dried, as they bring a cleaner flavor. Remember to keep them fresh to avoid bitterness.
The Unexpected Star
Lime Juice: Added at the end, lime juice brightens the sauce and cuts through the richness. It also adds a subtle tartness that balances the sweetness of the coconut. A fresh squeeze is best, but bottled lime juice can work in a pinch. Without lime, the dish can feel heavy.
The Final Flourish
Fresh Cilantro: Chopped cilantro adds a herbaceous freshness that lifts the dish. It’s a finishing touch that brightens the palate. Use a handful, and sprinkle it over the dish just before serving. It also provides a pop of color that makes the dish more appealing.
Optional Garnishes: Toasted sesame seeds or sliced green onions add texture and a subtle nuttiness. These are not essential but can elevate the presentation. Sprinkle them in the last minute for a crisp contrast.
Everything's prepped? Good. Let's get into the real action.

The Method — Step by Step
- Heat the vegetable oil in a large, heavy‑bottomed pot over medium heat until shimmering. Add the diced onions and cook, stirring occasionally, until they turn translucent and just begin to brown at the edges—about 5 minutes. This caramelization builds the flavor base that the rest of the curry will cling to. Keep an eye on them; a burnt onion will ruin the dish.
- Introduce the minced garlic and grated ginger to the pot, sautéing for 1-2 minutes until fragrant. The aroma should be intense but not bitter. This step is the moment of truth—you can’t skip it. The garlic and ginger release essential oils that form the core of the curry’s aroma.
- Stir in the red curry paste, letting it toast in the oil for 30 seconds to a minute. Watch the colors deepen and the paste toasty aroma to rise. This deglazing step pulls up the browned bits from the bottom, adding umami to the sauce. If you notice a sharp, raw paste smell, let it cook a bit longer.
- Add the chicken thighs to the pot, turning them to coat with the paste and onions. Sear the chicken for 2-3 minutes on each side until a golden crust forms. This browning step locks in juices and adds depth. The chicken should not be fully cooked yet; it will finish in the simmering sauce.
- Pour in the can of coconut milk, followed by the cup of chicken broth. Bring the mixture to a gentle boil, then reduce heat to a low simmer. The sauce should be thick and creamy, with a slight sheen. Stir occasionally to prevent sticking.
- Add the diced carrots and bell pepper, allowing them to soften without losing their bite. Simmer for 8-10 minutes, or until the vegetables are tender but still crisp. The colors should pop, adding visual appeal. This is the moment when the curry’s texture starts to unify.
- Stir in the fish sauce, a pinch of sugar, and the lime juice. Taste the sauce, adjusting salt or lime as needed. The lime should brighten the dish without overpowering the coconut. This final flavor tweak is crucial for balance.
- Turn off the heat and let the curry rest for 5 minutes. This rest period allows the flavors to meld and the sauce to thicken slightly. The chicken will finish absorbing the juices. This pause is often overlooked but makes a noticeable difference.
- Serve the curry hot over steamed jasmine rice, garnished with fresh cilantro and optional toasted sesame seeds. The rice acts as a neutral canvas that highlights the sauce’s richness. The garnish adds a final burst of color and texture. The dish is now ready to be devoured.
- Enjoy the first spoonful—notice the layers of flavor, the silky sauce, and the tender chicken. Take a moment to appreciate the aroma and the visual appeal. Share the dish with friends or family, and watch their faces light up. This is the moment you’ll remember for a long time.
That’s it — you did it. But hold on, I’ve got a few more tricks that will take this to another level.
Insider Tricks for Flawless Results
The Temperature Rule Nobody Follows
Many cooks believe that a high simmer is best for a curry, but that can actually scorch the coconut milk and create a bitter taste. Instead, aim for a gentle, steady simmer that allows the flavors to meld without boiling away the delicate aromatics. A low heat also helps maintain the sauce’s silky texture. I’ve seen beginners over‑boil their sauces, resulting in a rubbery finish.
Why Your Nose Knows Best
Before you add the lime, give the curry a quick sniff. If it smells like burnt coconut, the sauce is overcooked and needs a quick cool down. Your nose can detect subtle off‑notes that your eyes can’t see. Trust that sensory cue and adjust the heat immediately. This simple habit saves countless ruined dishes.
The 5-Minute Rest That Changes Everything
After you turn off the stove, let the curry sit for five minutes. This pause allows the flavors to marry fully, and the sauce will thicken slightly as it cools. The chicken also finishes cooking in the residual heat, becoming even more tender. Skipping this step often results in a sauce that feels underdeveloped.
Keep the Pot Clean
A clean pot prevents sticking and ensures even heat distribution. If you’re using a cast‑iron or stainless‑steel pot, rinse it thoroughly after each use. A dirty pot can cause the curry to stick and burn at the bottom. I’ve seen people try to scrape the bottom, only to end up with a ruined sauce.
Use a Splatter Guard
The coconut milk can splash when it hits the hot oil, creating a mess on your stove. A splatter guard keeps the kitchen clean and prevents burns. It also keeps the sauce from drying out by reducing evaporation. I’ve used a simple plastic lid cut in half for this purpose, and it works wonders.
Fresh Herbs Over Dried
Fresh cilantro adds a bright, herbal note that dried cilantro cannot match. Dried herbs lose their potency quickly, especially when exposed to heat. Using fresh herbs at the end preserves their flavor and color. This tip is simple but transformative.
Creative Twists and Variations
This recipe is a playground. Here are some of my favorite ways to switch things up:
Spicy Jerk Chicken Curry
Swap the red curry paste for a homemade jerk seasoning blend. Add a handful of fresh scallions and a squeeze of orange juice for a Caribbean twist. The result is a curry that tastes like a tropical beach party. It’s perfect for summer gatherings.
Sweet Potato & Chickpea Curry
Replace the chicken with diced sweet potatoes and chickpeas for a hearty vegetarian version. The sweet potatoes add natural sweetness that complements the coconut. Chickpeas bring protein and a satisfying bite. This version is both comforting and filling.
Thai Green Curry with Pineapple
Use green curry paste instead of red, and add diced pineapple chunks for a tropical flair. The green paste offers a slightly different spice profile, while pineapple adds a juicy sweetness. This variation feels like a vacation in a bowl.
Curried Lentil Soup
Turn the curry into a soup by adding lentils and extra broth. Cook the lentils until tender, then stir in the coconut milk and curry paste. The result is a creamy, protein‑rich soup that’s perfect for a chilly evening. It’s a comforting twist.
Thai Basil Chicken
Add a generous handful of Thai basil leaves at the end for an aromatic finish. Basil’s peppery notes complement the coconut milk and curry paste. This variation is quick to make and delivers an explosion of flavor. It’s ideal for a weeknight dinner.
Spicy Shrimp Coconut Curry
Swap the chicken for shrimp, adding them in the last 5 minutes of cooking. Shrimp cooks quickly and absorbs the sauce’s flavors beautifully. The result is a light, seafood‑centric dish that’s both elegant and easy. It’s a great option for a fancy dinner.
Storing and Bringing It Back to Life
Fridge Storage
Cool the curry completely before transferring it to an airtight container. Store it in the refrigerator for up to 3 days. The flavors will mellow, making it even more enjoyable. When you’re ready, reheat gently on the stovetop.
Freezer Friendly
Divide the curry into individual portions and freeze them in freezer‑safe containers. The dish can be stored for up to 3 months. Thaw overnight in the refrigerator, then reheat on the stovetop or in the microwave. This is perfect for meal prep.
Best Reheating Method
Add a splash of water or coconut milk before reheating to restore the sauce’s silky consistency. Reheat on low heat, stirring frequently to prevent separation. Once it reaches a gentle simmer, serve immediately. Avoid high heat, which can break the sauce.