I was in the middle of a frantic breakfast rush when my pantry betrayed me. The only thing I could find was a jar of peanut butter, a bag of oats, and a sweetener that was on the brink of expiration. I stared at the empty fridge, imagined a bland, soggy cereal, and decided to improvise. That night I turned my kitchen into a laboratory and discovered the most satisfying no‑bake treat I’ve ever made. The result? Peanut‑butter‑oat bars that melt in your mouth, crunch like a fresh cookie, and taste like a childhood memory made real.
The kitchen was a riot of smells—warm peanut butter, toasted oats, and the faint hum of the fridge. My eyes flickered between the pantry shelves and the counter where the jar of honey waited like a golden promise. The sound of the spoon slapping the saucepan was a metronome for my impatient heart. I could almost taste the first bite before I even stirred the mixture. That instant burst of anticipation made the process feel like a ritual.
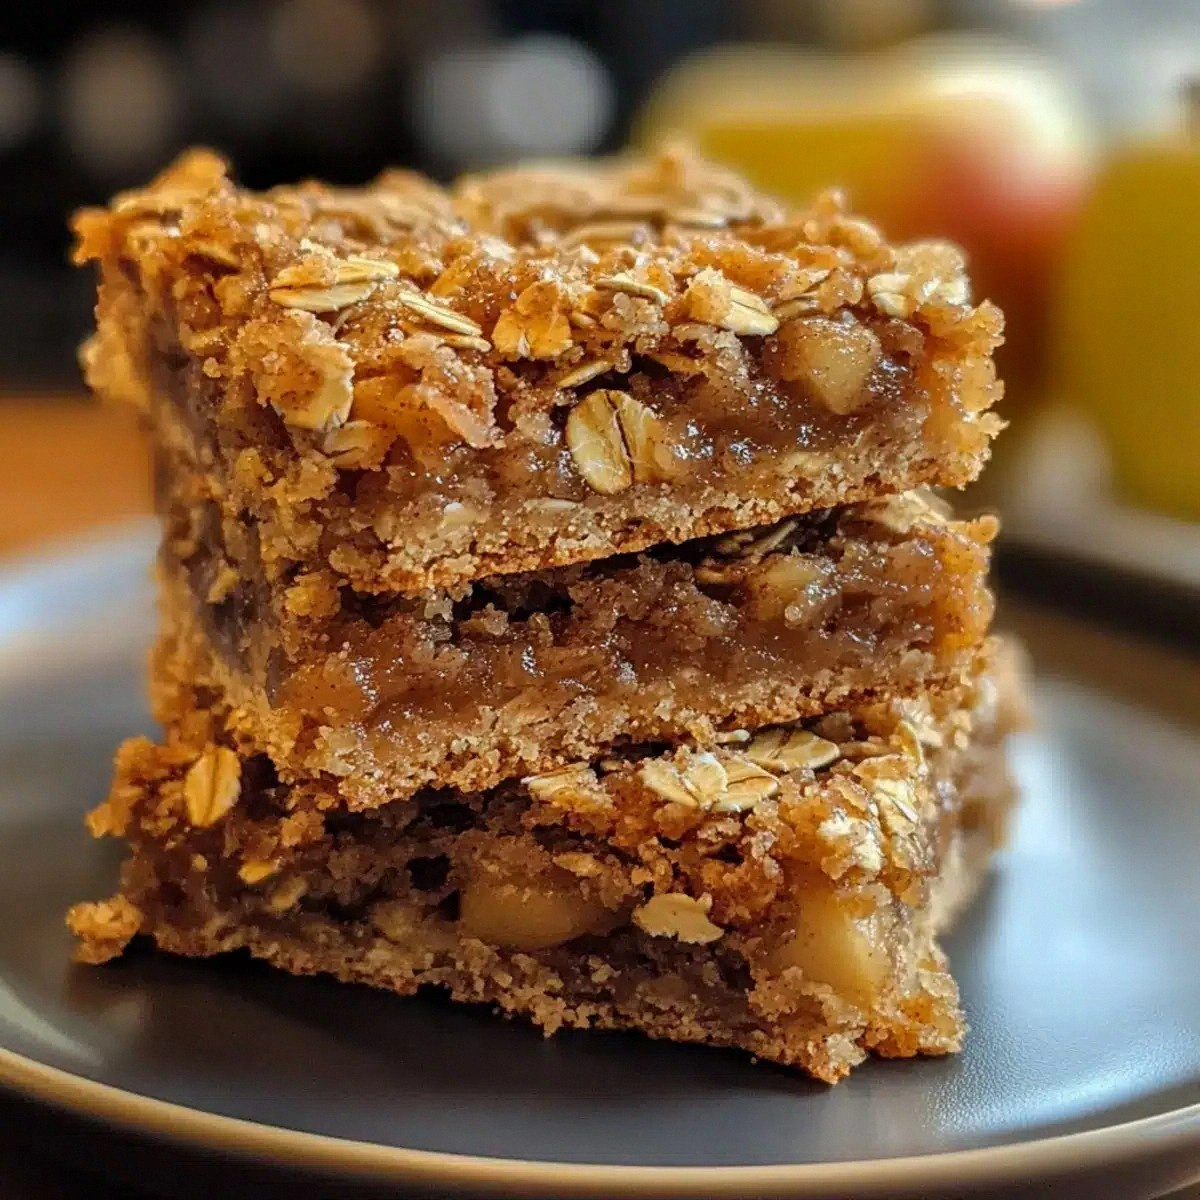
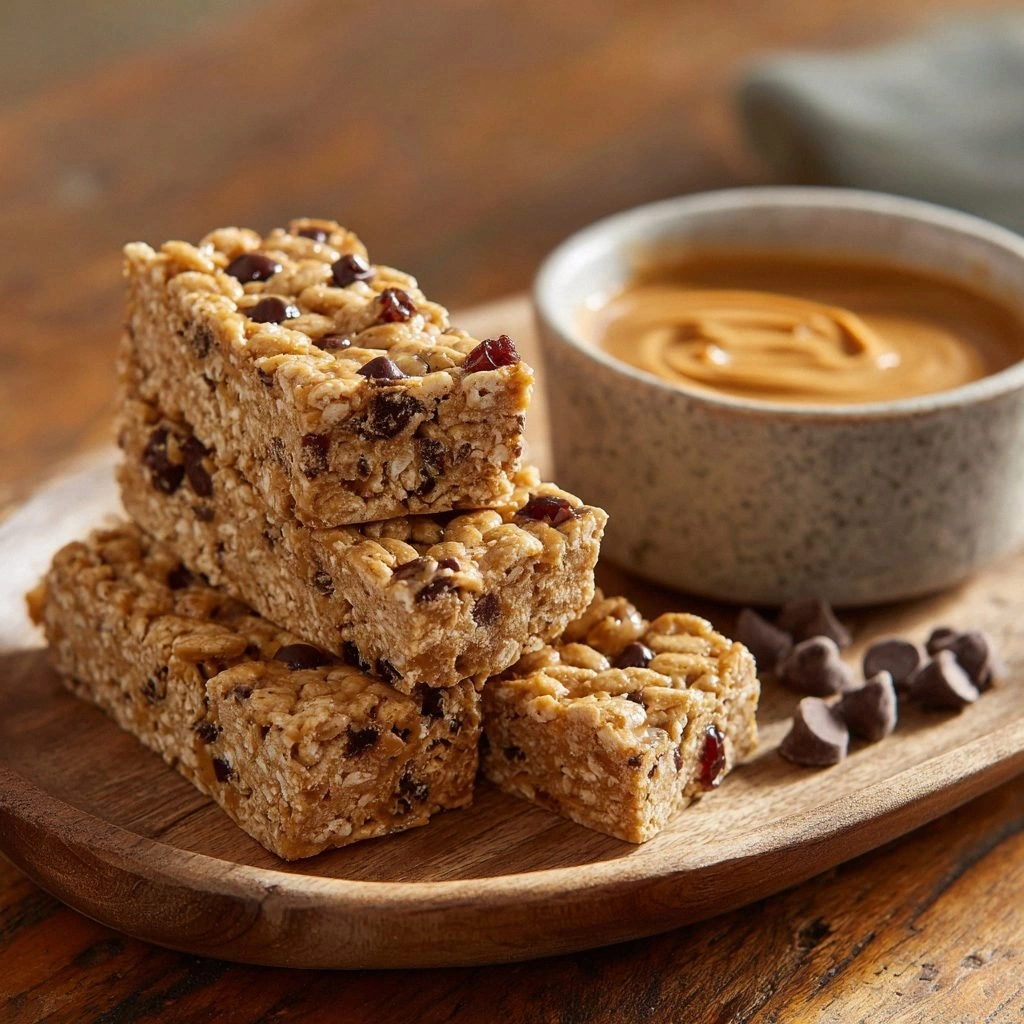
What made this version stand out was not just the flavor but the sheer simplicity. I didn't need an oven or a fancy mixer; just a saucepan, a spoon, and a little patience. The bars are chewy on the inside with a crisp, golden edge that snaps like brittle sugar. They hold together so well that even a toddler can pick them up without a mess. This is hands down the best version you'll ever make at home.
I dared myself to taste these bars without thinking about a second helping, but I couldn't resist. I ate half the batch before anyone else got a chance, and the rest was a secret stash. The secret sauce? A splash of vanilla and a pinch of sea salt that elevate the peanut butter to a new dimension. The crunchy oats add a satisfying texture that keeps your mouth moving. I promised myself I would share this recipe with anyone who loves a quick, indulgent snack.
Most people think no‑bake treats are bland or too sweet, but that couldn't be further from the truth. The combination of natural sweeteners and toasted oats creates a depth that rivals any baked dessert. The bars also have a natural shelf life thanks to the low moisture content. I can keep them for a week in the fridge, and they taste fresher than when freshly made. I love how the peanut butter clings to the oats, making each bite a harmonious blend.
If you've ever struggled with a quick snack that satisfies both your sweet tooth and your hunger, this is the answer. Picture yourself pulling these bars out of the fridge, the whole kitchen smelling incredible, and sharing them with friends. The texture is a dance of crunchy and chewy, while the flavor is rich, nutty, and just sweet enough. I promise you, once you try this, you'll wonder how you ever made any other snack. Let me walk you through every single step — by the end, you'll wonder how you ever made it any other way.
What Makes This Version Stand Out
- Flavor Balance: The natural sweetness of honey pairs perfectly with the deep, earthy tones of peanut butter, creating a harmony that lingers on the palate. The subtle vanilla lift adds a fragrant note that feels both comforting and sophisticated. Together, they form a flavor profile that is both nostalgic and modern.
- Texture Contrast: Each bite delivers a satisfying crunch from toasted oats that gives way to a chewy, melt‑in‑your‑mouth center. The contrast keeps the bars interesting and prevents them from feeling heavy or cloying. The result is a snack that satisfies texture cravings without overloading the sugar.
- Quick Assembly: The entire process takes less than 45 minutes from start to finish. No pre‑baking, no refrigeration for hours—just a few minutes of heating and a short cooling period. This speed makes it ideal for busy mornings or last‑minute gatherings.
- No‑Bake Simplicity: The recipe relies on a single pan and a wooden spoon, eliminating the need for specialized equipment. This simplicity lowers the barrier for novice cooks and reduces cleanup time, allowing you to focus on the taste rather than the tools.
- Crowd‑Pleaser Factor: The bars are large enough for a single serving but small enough to share. They appeal to both kids and adults, making them perfect for parties, school lunches, or a quick office snack.
- Healthy Sweetness: By using honey instead of refined sugar, the bars maintain a lower glycemic index while still delivering that sweet punch. The oats add fiber and complex carbohydrates, turning a dessert into a more balanced treat.
Alright, let's break down exactly what goes into this masterpiece...
Inside the Ingredient List
The Flavor Base
The backbone of these bars is the peanut butter, which provides a creamy, nutty foundation that carries the other flavors. A full cup of creamy peanut butter is the sweet spot; too little and the bars will feel dry, too much and they become overly greasy. If you prefer a smoother texture, blend the peanut butter with a tablespoon of coconut oil before mixing.
Honey is the natural sweetener that gives the bars their sticky, caramelized quality. Using raw or unfiltered honey preserves trace enzymes and antioxidants, giving the bars an extra health boost. If you’re watching your sugar intake, replace half the honey with maple syrup for a lower glycemic option.
The Texture Crew
Rolled oats are the heart of the crunch. They absorb the peanut butter mixture while maintaining a firm bite. Choose old‑fashioned oats for a denser texture or quick oats for a lighter chew. To avoid clumping, sift the oats through a fine sieve before adding them to the pan.
Dark chocolate chips add bursts of bittersweet flavor that complement the nutty base. They also contribute a glossy sheen when melted, making the bars visually appealing. For a vegan version, swap in dairy‑free chocolate chips that melt smoothly.
The Sweetener
A splash of vanilla extract lifts the entire flavor profile, adding a fragrant, floral note that balances the richness of peanut butter. Use pure vanilla extract rather than imitation to avoid a chemical aftertaste. If you’re allergic to vanilla, a pinch of almond extract works as a suitable alternative.
Sea salt is the final touch that enhances every bite. A ¼ teaspoon of finely ground sea salt brings out the sweetness and prevents the bars from tasting flat. For a low‑sodium option, use a pinch of Himalayan pink salt and taste as you go.
The Unexpected Star
Chopped almonds add a subtle crunch and a nutty aroma that amplifies the peanut butter base. Toast the almonds lightly in a dry skillet to bring out their natural oils. If you’re allergic to tree nuts, substitute with pumpkin seeds for a different crunch.
Dried cranberries provide a chewy, tart contrast that cuts through the sweetness. They also add a pop of color, making the bars visually inviting. For a vegan version, use dried blueberries or raisins instead.
Everything's prepped? Good. Let's get into the real action...
The Method — Step by Step
- Begin by heating a medium saucepan over medium heat. Add the butter and let it melt until it starts to bubble. Stir in the peanut butter, ensuring it blends smoothly into the butter. The mixture should reach a gentle simmer, creating a glossy sheen that signals readiness. This step is crucial for unlocking the peanut butter’s full flavor.
- Add the honey and vanilla extract to the pan. Whisk vigorously until the mixture turns a light amber color. The honey should coat the back of a spoon, indicating it’s thickened. This caramelization adds depth and a subtle nutty undertone. Keep the heat steady to avoid scorching.
- Stir in the sea salt, then pour in the rolled oats. Mix until the oats are fully coated and the mixture thickens to a sticky consistency. You should see the oats clump together but still hold their shape. The aroma will shift to a warm, toasted scent. This is the moment where texture begins to form.
- Fold in the chocolate chips and chopped almonds. The chocolate will melt slightly, creating a glossy swirl throughout the bars. The almonds add a satisfying crunch that contrasts with the chewy oat base. Be careful not to overmix, or the chocolate will separate.
- Transfer the mixture into a lined 8×8 inch pan. Press it firmly with the back of a spoon or your palms. The tighter you press, the more compact the bars will be, reducing the risk of them falling apart. Let the mixture settle for a minute to allow the oats to absorb the liquid.
- Refrigerate the pan for at least 30 minutes. The bars will firm up, making them easier to cut. If you’re in a hurry, you can chill them in a freezer for 10 minutes, but be careful not to freeze them completely; they should remain slightly pliable.
- Remove the set mixture from the pan and place it on a cutting board. Using a sharp knife, cut into squares or bars. For a cleaner cut, wipe the knife with a paper towel between each cut.
- Wrap each bar individually in parchment paper or wax paper. Store in an airtight container at room temperature for up to five days. For longer storage, keep them in the refrigerator or freeze them for up to two months.
- Serve immediately or let them sit at room temperature for a few minutes to soften. The bars will regain their chewy texture, making each bite a delightful experience. Enjoy them with a cup of tea or a glass of milk for a balanced snack.
That's it — you did it. But hold on, I've got a few more tricks that'll take this to another level...
Insider Tricks for Flawless Results
The Temperature Rule Nobody Follows
Maintaining a steady medium heat is vital; too high and the peanut butter will scorch, too low and the mixture won’t caramelize. Use a thermometer to keep the pan between 160–170 °C (320–338 °F). This range ensures a smooth, glossy coating that locks in flavor. A consistent temperature also prevents the oats from becoming gummy.
Why Your Nose Knows Best
Your sense of smell can tell you when the mixture is ready. A warm, nutty aroma that leans toward toasted sugar indicates caramelization. If the scent is flat or metallic, give it a few more minutes. Trusting your nose eliminates guesswork and guarantees a superior result.
The 5-Minute Rest That Changes Everything
After pressing the mixture into the pan, let it rest for five minutes before refrigerating. This brief pause allows the oats to fully absorb the liquid, resulting in a firmer, more cohesive bar. Skipping this step can leave the bars crumbly and uneven.
Use a Non-Stick Surface
Lining the pan with parchment or silicone mat reduces the need for excess oil or butter. It also makes the cleanup a breeze, saving you precious time. If you’re using a reusable silicone mat, rinse it with warm water and let it air dry before the next batch.
Keep the Mix Warm Until Pressing
If the mixture cools before you press it into the pan, the oats will not bind properly. Keep the mixture on the stove until the moment you press it, then transfer immediately. A warm mixture will spread evenly and hold together when cut.
The 1-Second Press Trick
When you press the mixture into the pan, apply firm pressure for exactly one second. This technique compacts the oats without overworking the mixture, preserving the desired chewiness. Over‑pressing can cause the bars to become too dense and dry.
Creative Twists and Variations
This recipe is a playground. Here are some of my favorite ways to switch things up:
Coconut Crunch
Swap half the peanut butter for coconut butter and add shredded coconut. The result is a tropical twist with a chewy, nutty base that pairs perfectly with the coconut flavor. This version works well for summer gatherings or beach picnics.
Chocolate Chip Delight
Increase the chocolate chips to a full cup and add a tablespoon of cocoa nibs. The extra chocolate creates a richer, bittersweet profile that satisfies chocolate lovers. The nibs add a satisfying crunch that complements the oats.
Spiced Energy Bars
Add a pinch of cinnamon and a dash of cayenne pepper to the mixture. The warm spice notes balance the sweetness while providing a subtle kick. These bars are perfect for a pre‑workout snack or an afternoon pick‑me‑up.
Vegan Version
Use almond butter, maple syrup, and dairy‑free chocolate chips. Replace the butter with coconut oil to maintain the right consistency. This version keeps the same flavor profile while staying plant‑based.
Nut-Free Alternative
Replace the peanut butter with sunflower seed butter and use pumpkin seeds instead of almonds. The result is a nut‑free, allergy‑friendly snack that still delivers on crunch and flavor. This variation is ideal for schools or events with dietary restrictions.
Savory Twist
Omit the honey and add a teaspoon of miso paste along with sea salt. The savory umami flavor pairs surprisingly well with the toasted oats. This version works as a crunchy snack for a midday energy boost.
Storing and Bringing It Back to Life
Fridge Storage
Place the bars in an airtight container or zip‑lock bag. They stay fresh for up to a week at room temperature and up to ten days in the refrigerator. The cool environment slows down the breakdown of the oils, keeping the bars chewy.
Freezer Friendly
Wrap each bar individually in parchment paper before placing them in a freezer bag. They can be stored for up to two months without losing flavor. When you’re ready to enjoy, let them sit at room temperature for 15 minutes to soften slightly.
Best Reheating Method
To revive the bars, place them in a microwave-safe dish and heat on low for 10–15 seconds. If you prefer a crunchier texture, briefly toast them in a skillet over medium heat. A splash of water before reheating creates steam that restores moisture and prevents them from drying out.