Picture this: I was halfway through a weeknight dinner, juggling a pot of boiling pasta, a pan of sautéed veggies, and a half‑cooked chicken that had decided to throw a temper tantrum. The kitchen smelled like burnt garlic and despair. My friend, ever the culinary daredevil, whispered, “I dare you to taste this and not go back for seconds.” I laughed, because I’ve been on countless quests to find that one dish that feels like a hug from a grandparent, but never quite did. Then I stumbled upon a recipe that promised a juicy herb butter roast that would make me forget all my kitchen mishaps. And I was hooked.
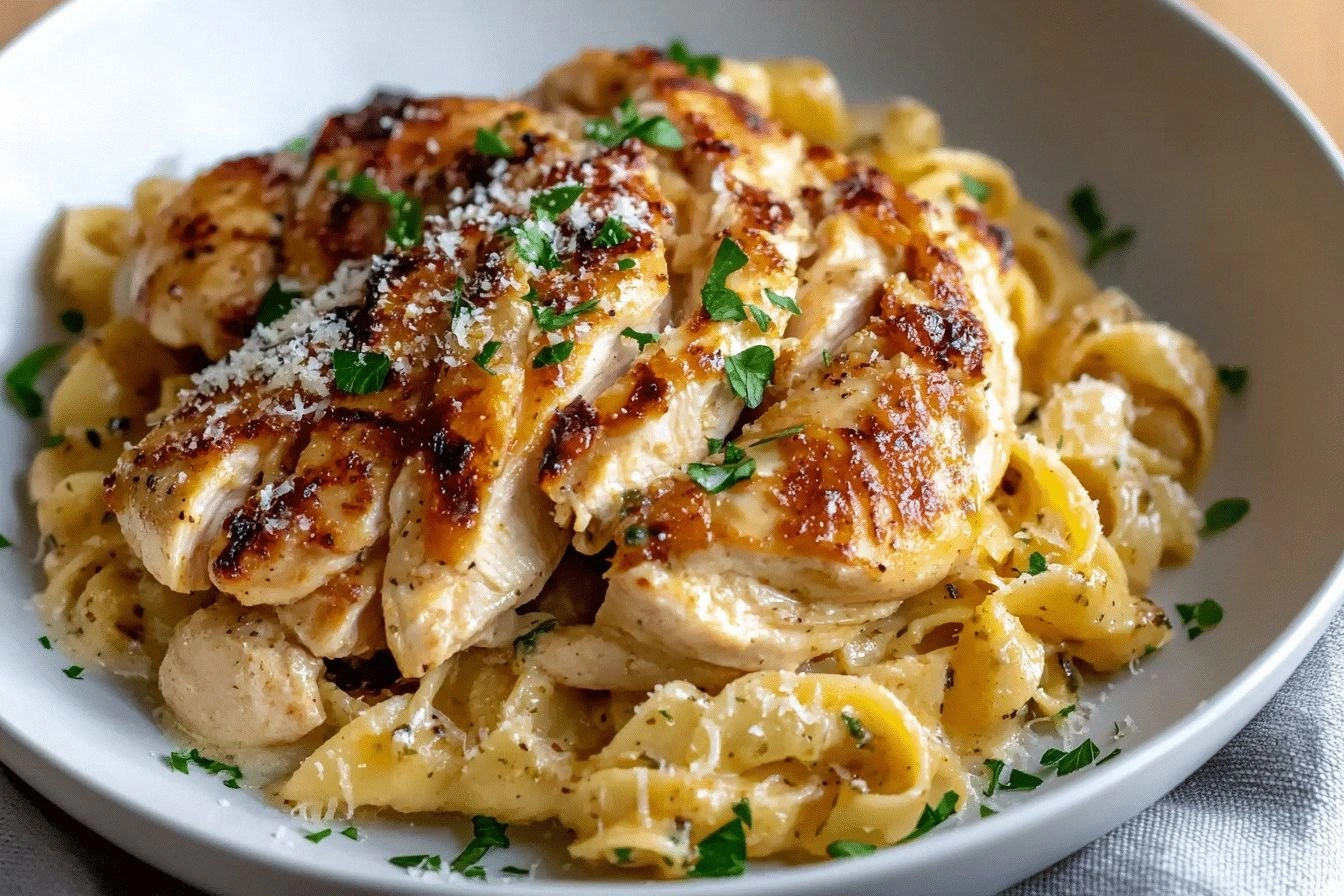
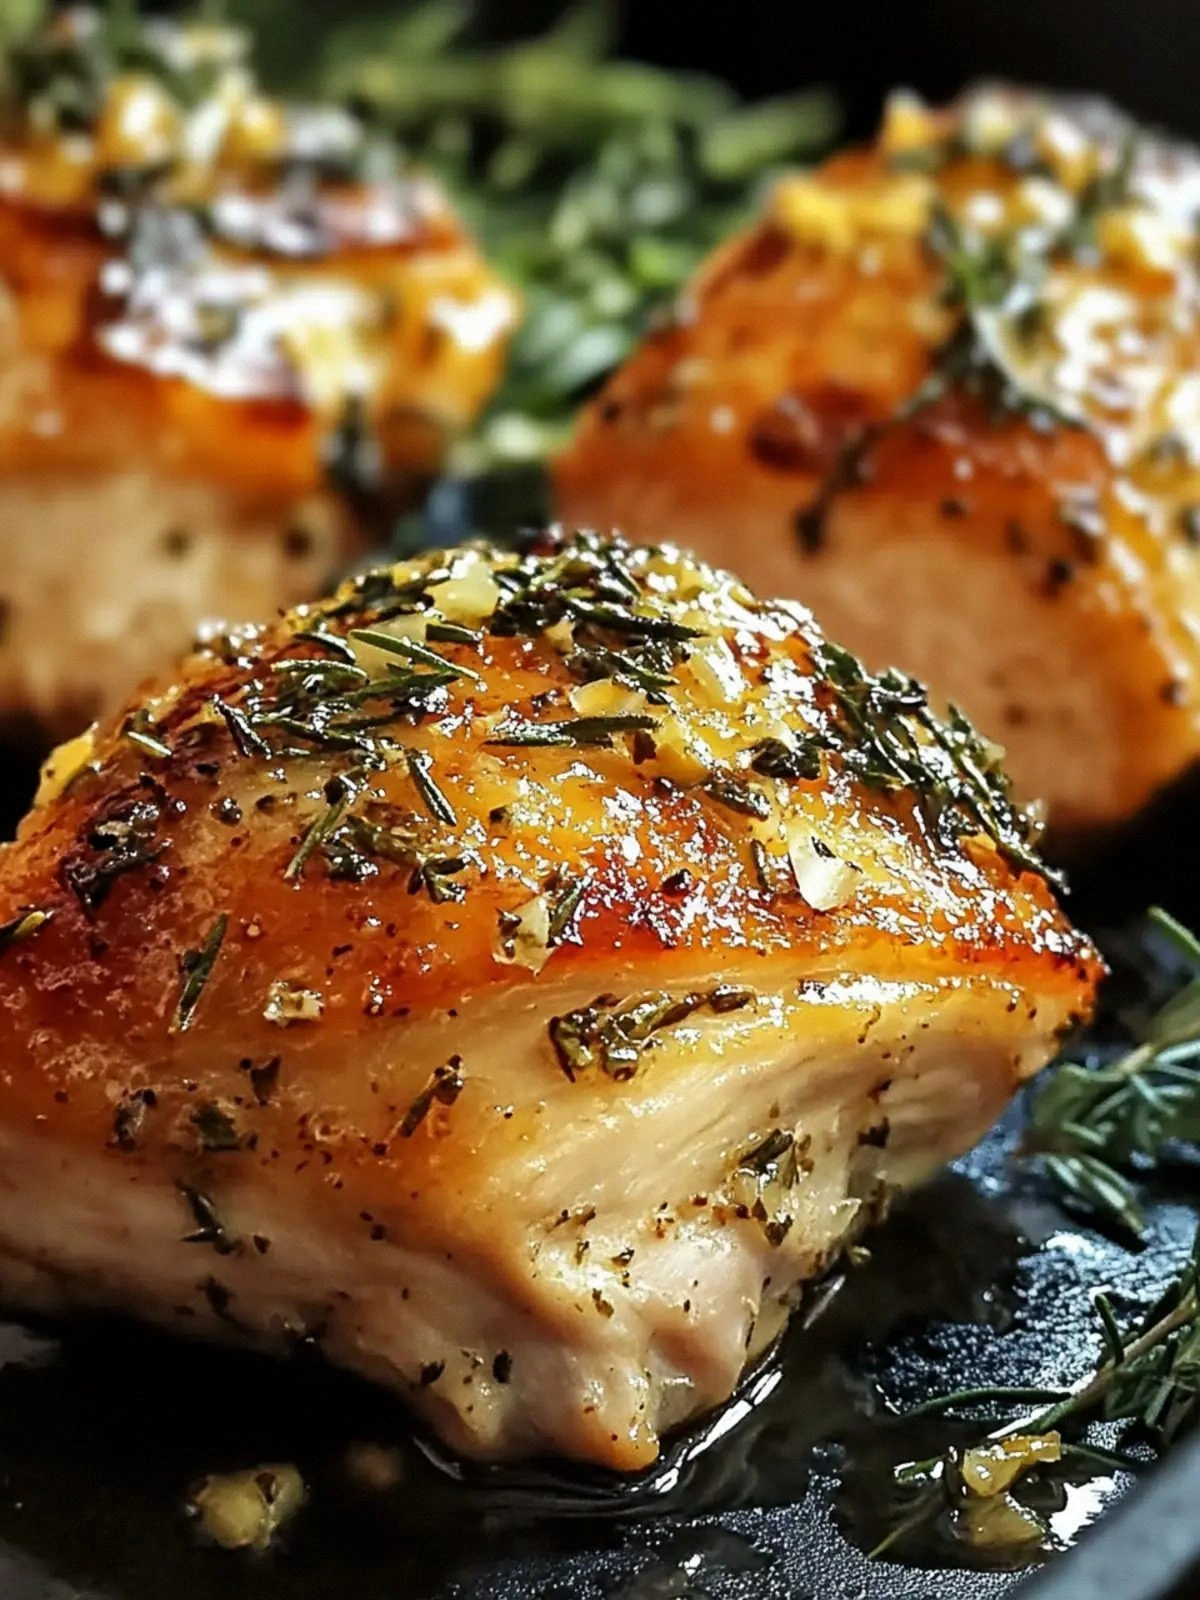
When the first sizzling bite hit my tongue, the crisp skin crackled like a fresh snowfall, and the herb butter melted into a glossy glaze that kissed the meat like a velvet ribbon. The rosemary and thyme danced together, releasing a fragrance that made the whole apartment feel like a rustic farmhouse. The lemon zest added a bright, citrusy lift that cut through the richness, while the garlic’s warmth lingered like a secret whisper. Every bite was a revelation: tender, juicy, and bursting with layered flavor that made the simple act of eating feel like a celebration. I swear, this is hands down the best version you'll ever make at home.
Most recipes get this completely wrong. They either overcook the turkey, forget the butter, or let the herbs get lost in the sauce. I’ve seen countless tutorials where the skin turns rubbery, the meat dries out, and the butter just sits on top like a sad garnish. This recipe flips that narrative. It uses a precise blend of butter, olive oil, and broth to keep the thighs moist, while a high‑heat sear locks in the flavor. The result? A dish that feels like it was cooked by a master chef, but you can do it in your own kitchen. If you’ve ever struggled with juicy roasted meats, you’re not alone — and I’ve got the fix.
And now the fun part: we’re going to walk through every single step together. I’ll be right here, voice‑on‑voice, explaining how to bring out the best in each ingredient and how to avoid the pitfalls that most cooks fall into. Picture yourself pulling this out of the oven, the whole kitchen smelling incredible, and a plate of golden, herb‑laden thighs waiting to be devoured. Let me walk you through every single step — by the end, you’ll wonder how you ever made it any other way.
What Makes This Version Stand Out
- Flavor: The combination of fresh rosemary, thyme, and lemon zest creates a bright, aromatic profile that elevates the savory turkey. The butter and olive oil work together to lock in moisture and add a silky mouthfeel. The result is a dish that tastes like it’s been simmered for hours, but is ready in under an hour.
- Texture: The high‑heat sear produces a crisp, caramelized crust that shatters like thin ice when you bite into it, while the interior stays succulent. The herb butter forms a glossy glaze that coats the meat like velvet, ensuring every bite is juicy. This contrast between crunch and tenderness is what makes the dish unforgettable.
- Simplicity: With only ten ingredients and a straightforward method, you can achieve a restaurant‑quality meal without spending hours in the kitchen. The recipe is designed for busy weeknights, yet it still delivers a wow factor that will impress guests.
- Uniqueness: The use of a butter‑oil blend and a splash of chicken broth creates a sauce that’s both rich and light. The lemon zest adds a bright counterpoint that keeps the dish from feeling heavy. This subtle balance sets it apart from the usual dry roasted turkey.
- Ingredient Quality: Using bone‑in, skin‑on thighs ensures maximum flavor and moisture. Fresh herbs are essential for that bright, aromatic punch, while the unsalted butter allows you to control the salt level precisely. The chicken broth adds depth without overpowering the natural flavors.
- Make‑Ahead Potential: You can season the thighs a day ahead, letting the flavors seep in. The butter mixture can be pre‑made and stored in the fridge for up to 48 hours. This prep strategy saves time on busy nights while still delivering a fresh, delicious result.
Inside the Ingredient List
The Flavor Base
The unsalted butter is the star that holds everything together. It melts into a silky coating that carries the herbs and garlic into the meat, creating a deep, savory foundation. Skipping the butter would leave the thighs dry and lack that rich, buttery finish. If you prefer a dairy‑free version, try substituting with a plant‑based butter or a light olive oil.
The Texture Crew
The bone‑in, skin‑on turkey thighs are the backbone of this dish. The bones add depth and flavor, while the skin crisps up into a golden, crackling crunch that’s impossible to resist. If you’re short on thighs, you can use breast meat, but the texture will shift to a leaner, less juicy experience. A good tip: pat the skin dry with paper towels before seasoning to maximize crispness.
The Unexpected Star
The lemon zest might seem like a minor detail, but it injects a bright, citrusy punch that cuts through the richness of the butter and meat. It also balances the herbal notes, preventing the dish from feeling too heavy. If you’re allergic to citrus or just don’t have lemons on hand, a splash of white wine or a pinch of lemon juice can substitute, though the aroma will differ slightly.
The Final Flourish
The chicken broth is the secret sauce that keeps the thighs moist during roasting. It creates steam in the oven, preventing the meat from drying out and forming a flavorful glaze. Without the broth, the skin would still crisp, but the interior could become dry. If you’re on a low‑sodium diet, use a low‑sodium broth or reduce the amount slightly.
Everything’s prepped? Good. Let’s get into the real action.
The Method — Step by Step
- Preheat your oven to 425°F (220°C). The high temperature is key for a crisp skin. I always let the oven rack settle on the middle level to ensure even heat distribution. While the oven is heating, grab a clean kitchen towel and pat the turkey thighs dry; moisture is the enemy of crispness.
- In a small saucepan, melt the butter over medium heat until it begins to foam. Add the olive oil, rosemary, thyme, and minced garlic. Let the herbs toast for about 30 seconds, releasing their essential oils. The aroma at this point is intoxicating—think of a forest after rain.
- Season the turkey thighs generously with salt and pepper. The salt helps draw out moisture and forms a savory crust. Then, using a spoon, drizzle the butter‑herb mixture over each thigh, ensuring the skin is coated evenly. This butter layer will protect the meat from drying out.
- Place the thighs skin‑side up on a rimmed baking sheet. If you have a wire rack, use it to allow air to circulate, but a sheet works fine too. The goal is to get the skin in direct contact with the hot surface for maximum crisping.
- Add a splash of chicken broth around the thighs—just enough to keep the bottom of the pan slightly moist. This creates steam that helps keep the meat juicy while the skin crisps. Don’t worry about the liquid evaporating; it’ll be absorbed or evaporated during roasting.
- Roast the thighs for 25 minutes, then flip them skin‑side down. The first 25 minutes allow the skin to brown and the butter to infuse the meat. When you flip, keep an eye on the color—aim for a deep amber, not burnt.
- After flipping, add the lemon zest to the pan. The zest will release its oils into the hot butter, creating a fragrant glaze that coats the thighs. The citrus aroma will mingle with the herbs, making the dish feel alive.
- Continue roasting for another 20 minutes, or until the internal temperature reaches 165°F (74°C). Use a meat thermometer inserted into the thickest part of the thigh. The juices should run clear, but a hint of pink is acceptable for maximum juiciness.
- When the thighs are done, remove them from the oven and let them rest on a cutting board for 10 minutes. Resting allows the juices to redistribute, preventing them from spilling onto the plate. It also gives the glaze time to set into a glossy finish.
- Serve immediately, spooning any pan juices over the thighs. Pair with roasted root vegetables or a crisp green salad to balance the richness. If you’re feeling adventurous, drizzle a little extra lemon zest on top for a fresh burst.
- If you want a thicker sauce, transfer the pan juices to a small saucepan and simmer over low heat until reduced by half. Stir in a teaspoon of butter to finish. The result is a silky, herb‑infused sauce that pairs beautifully with the roasted meat.
- For the next batch, keep the pan warm on low heat. This allows you to serve multiple thighs without waiting for the oven to reheat. The residual heat keeps the meat moist and the skin crisp.
That's it — you did it. But hold on, I've got a few more tricks that'll take this to another level. Let me share some insider wisdom that will make you feel like a culinary wizard.
Insider Tricks for Flawless Results
The Temperature Rule Nobody Follows
Most people roast at 375°F, but that low heat can cause the skin to stay tacky and the meat to dry. I swear by 425°F for a quick, crisp finish. If you’re using a convection oven, lower the temperature by 25°F to avoid over‑browning. This trick keeps the meat juicy and the skin golden.
Why Your Nose Knows Best
When the butter starts to brown and the herbs toast, the smell is a tell‑tale sign that the flavor is blooming. Trust your nose: if the aroma is sweet and nutty, you’re on the right track. If it smells burnt, reduce the heat or lower the butter amount. Smell is the fastest way to gauge doneness.
The 5‑Minute Rest That Changes Everything
Resting the thighs for 10 minutes may sound like a waste of time, but it’s the secret to juicy meat. The juices redistribute, preventing them from running off the plate. If you’re in a hurry, a quick 5‑minute rest still helps; just keep the thighs covered with foil to retain heat.
The Butter‑Oil Fusion
Blending butter with olive oil creates a smoother melt and prevents the butter from separating. The oil also raises the smoke point, allowing you to sear the skin without burning. This fusion is the difference between a greasy mess and a silky glaze.
The Lemon Zest Trick
Adding lemon zest at the end of roasting intensifies the citrus aroma. The heat releases the essential oils, giving a bright, fresh finish. If you prefer a deeper citrus flavor, add a tablespoon of lemon juice at the end of the roast.
The Rest‑and‑Reheat Method
If you’re planning to serve leftovers, let the thighs cool completely, then refrigerate in an airtight container. When reheating, add a splash of water and cover to create steam, keeping the meat moist. This technique preserves the texture and flavor for days.
Creative Twists and Variations
This recipe is a playground. Here are some of my favorite ways to switch things up:
Spicy Sriracha Glaze
Swap half the butter for a tablespoon of sriracha for a fiery kick. The heat pairs beautifully with the herbaceous notes, creating a complex flavor profile. This version is perfect for those who love a little heat.
Maple‑Glazed Turkey
Replace the lemon zest with a teaspoon of pure maple syrup. The sweetness balances the savory herbs, producing a caramelized glaze that’s irresistible. Serve with roasted sweet potatoes for a sweet‑savory combo.
Smoky Chipotle Butter
Add a teaspoon of chipotle powder to the butter mixture for a smoky depth. The chipotle complements the thyme and rosemary, creating a bold, smoky flavor. This twist works well with corn‑roasted potatoes.
Herb‑Infused Cream Sauce
After roasting, deglaze the pan with heavy cream and simmer until thickened. Stir in fresh herbs and a splash of lemon juice. The creamy sauce adds richness and pairs beautifully with the crispy skin.
Citrus‑Herb Marinade
Marinate the thighs in a mixture of orange juice, garlic, and herbs for 2 hours before roasting. The citrus tenderizes the meat and infuses it with bright flavors. The result is a juicy, fragrant dish with a subtle orange undertone.
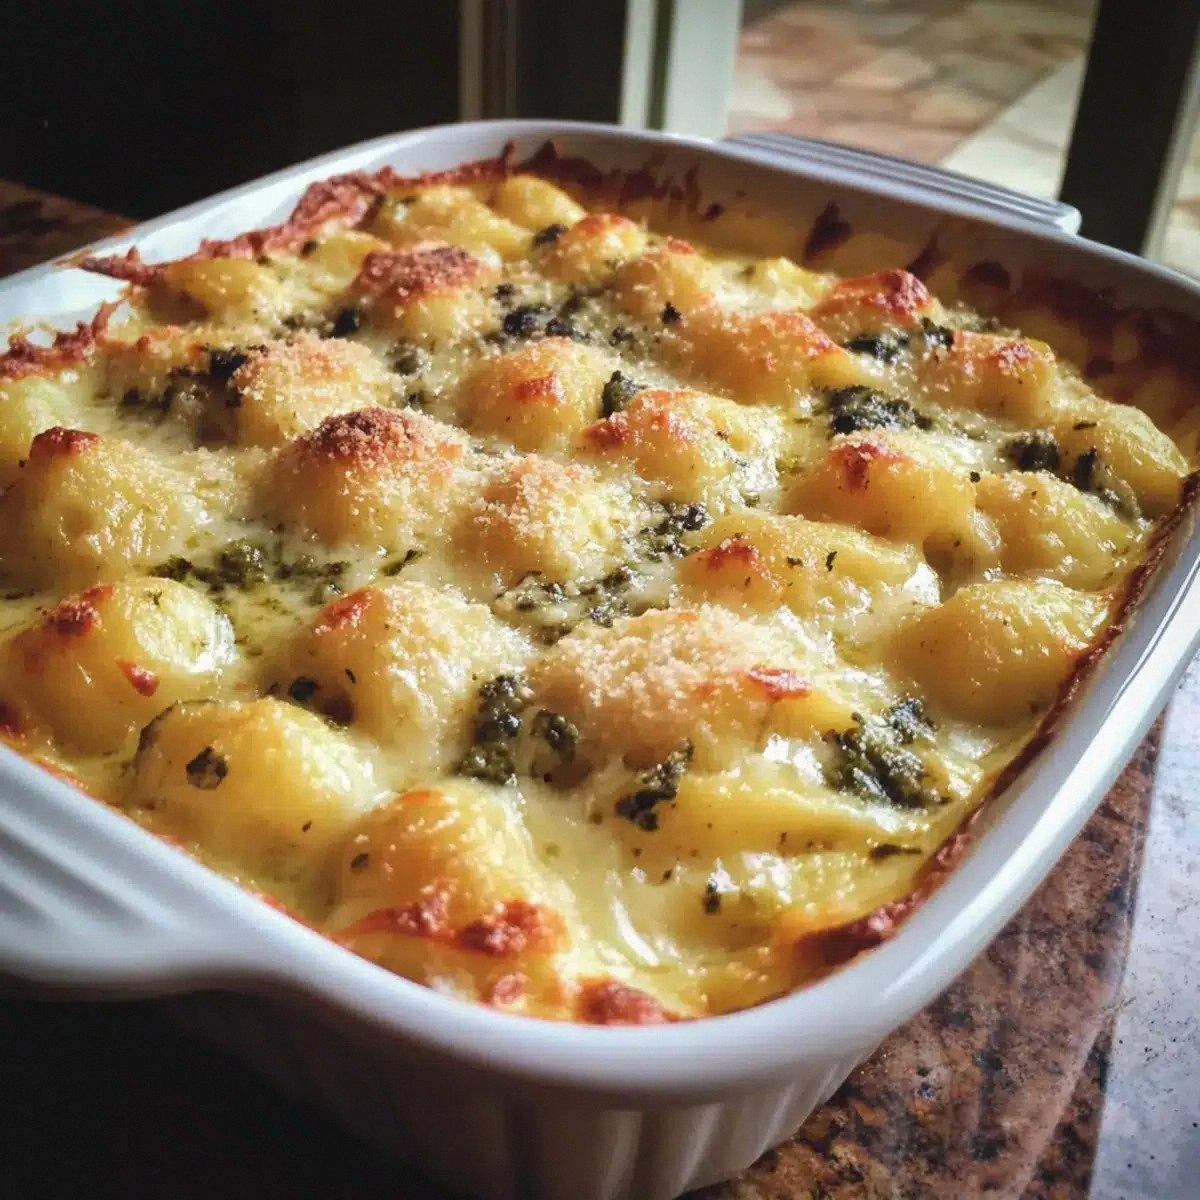
Garlic‑Butter Gnocchi Side
Serve the roasted thighs with homemade gnocchi tossed in garlic butter and parsley. The pillowy gnocchi absorbs the savory juices, creating a comforting, hearty meal. This combination is a crowd‑pleaser for family dinners.
Storing and Bringing It Back to Life
Fridge Storage
Store leftovers in an airtight container in the refrigerator for up to 3 days. The residual heat keeps the meat tender, but the crisp skin will soften slightly. To preserve the crunch, reheat in a hot skillet for 2 minutes before serving.
Freezer Friendly
Wrap the thighs tightly in foil and place them in a freezer bag. They can be frozen for up to 2 months without losing flavor. When ready to eat, thaw overnight in the refrigerator and reheat gently.
Best Reheating Method
Reheat in a skillet over medium heat, adding a splash of water or broth to create steam. The steam restores moisture and prevents the meat from drying out. Finish with a quick drizzle of butter for that glossy finish.